
Forums › General Discussion › Solent Stay project
- This topic has 9 replies, 7 voices, and was last updated 10 years, 8 months ago by
typhoontye.
-
AuthorPosts
-
-
February 4, 2016 at 8:39 am #97921
typhoontye
ParticipantHello all,
Attached are pics of my solent stay project. If they make it, Iâll send commentary in a separate mail.
David Tye
Blue Moon, #189
Attachments:
8148208963298155720.JPG
7639446011919450312.JPG
6981513112680163528.JPG
-
February 4, 2016 at 9:35 am #97925
theller85
ModeratorI think we have a “picture problem”
-
February 4, 2016 at 10:14 am #97927
unabated
ParticipantThis getting a little old!!!!! -
February 4, 2016 at 10:35 am #97929
ewanoleary
ParticipantPlease do not send 8MB files! It breaks the system.ThanksEwan -
February 4, 2016 at 12:45 pm #97931
Tor
ParticipantYes, we do have a picture problem. Several group members don’t seem to know how to re-size their photos for email and web page sharing. Please learn. It not only crashes the 424.org system, but also clogs up email servers & systems that have limited bandwidth (and cruisers who pay for internet by the bandwidth). Please, everyone, downsize your photos before sharing them so that they’re never more than 1000 pixels wide – half that is usually more than enough to share your projects with us. The ONLY time you’d ever need to send a 5MB photo (or even a half-MB photo) is if a magazine wants to print it and needs “high-res” photos.
Thanks,
Tor
———————-
Silverheels, P-424 #17
——————
-
February 4, 2016 at 12:54 pm #97932Participant
I agree, Alan. It is getting a little old. Several group members don’t seem to know how to re-size their photos for email and web page sharing. Please learn, for everyone’s sake. Multi-megabyte photo files not only crash the 424.org system, but also clog up email servers & systems that have limited bandwidth (and they’re expensive to download for cruisers who pay for internet by the bandwidth). Please, everyone, downsize your photos before sharing them so that they’re never more than 1000 pixels wide, a few hundred KILObytes at the most. Half that is usually more than enough to share your projects with us. The ONLY time you’d ever need to send a 5MB photo (or even a half-MB photo) is if a magazine wants to print it and needs “high-res” photos.
Remember, KILObytes, not MEGAbytes.
Thanks,
Tor
———————-
Silverheels, P-424 #17
——————
Tor
———————-
Silverheels, P-424 #17
——————
-
February 4, 2016 at 1:09 pm #97933Participant
Hello Ewan and all,
Sorry about the big file. I have now learned how to compress the files. You would think I would know that by now. I hope I havenât caused any more trouble than is already obvious.
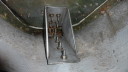
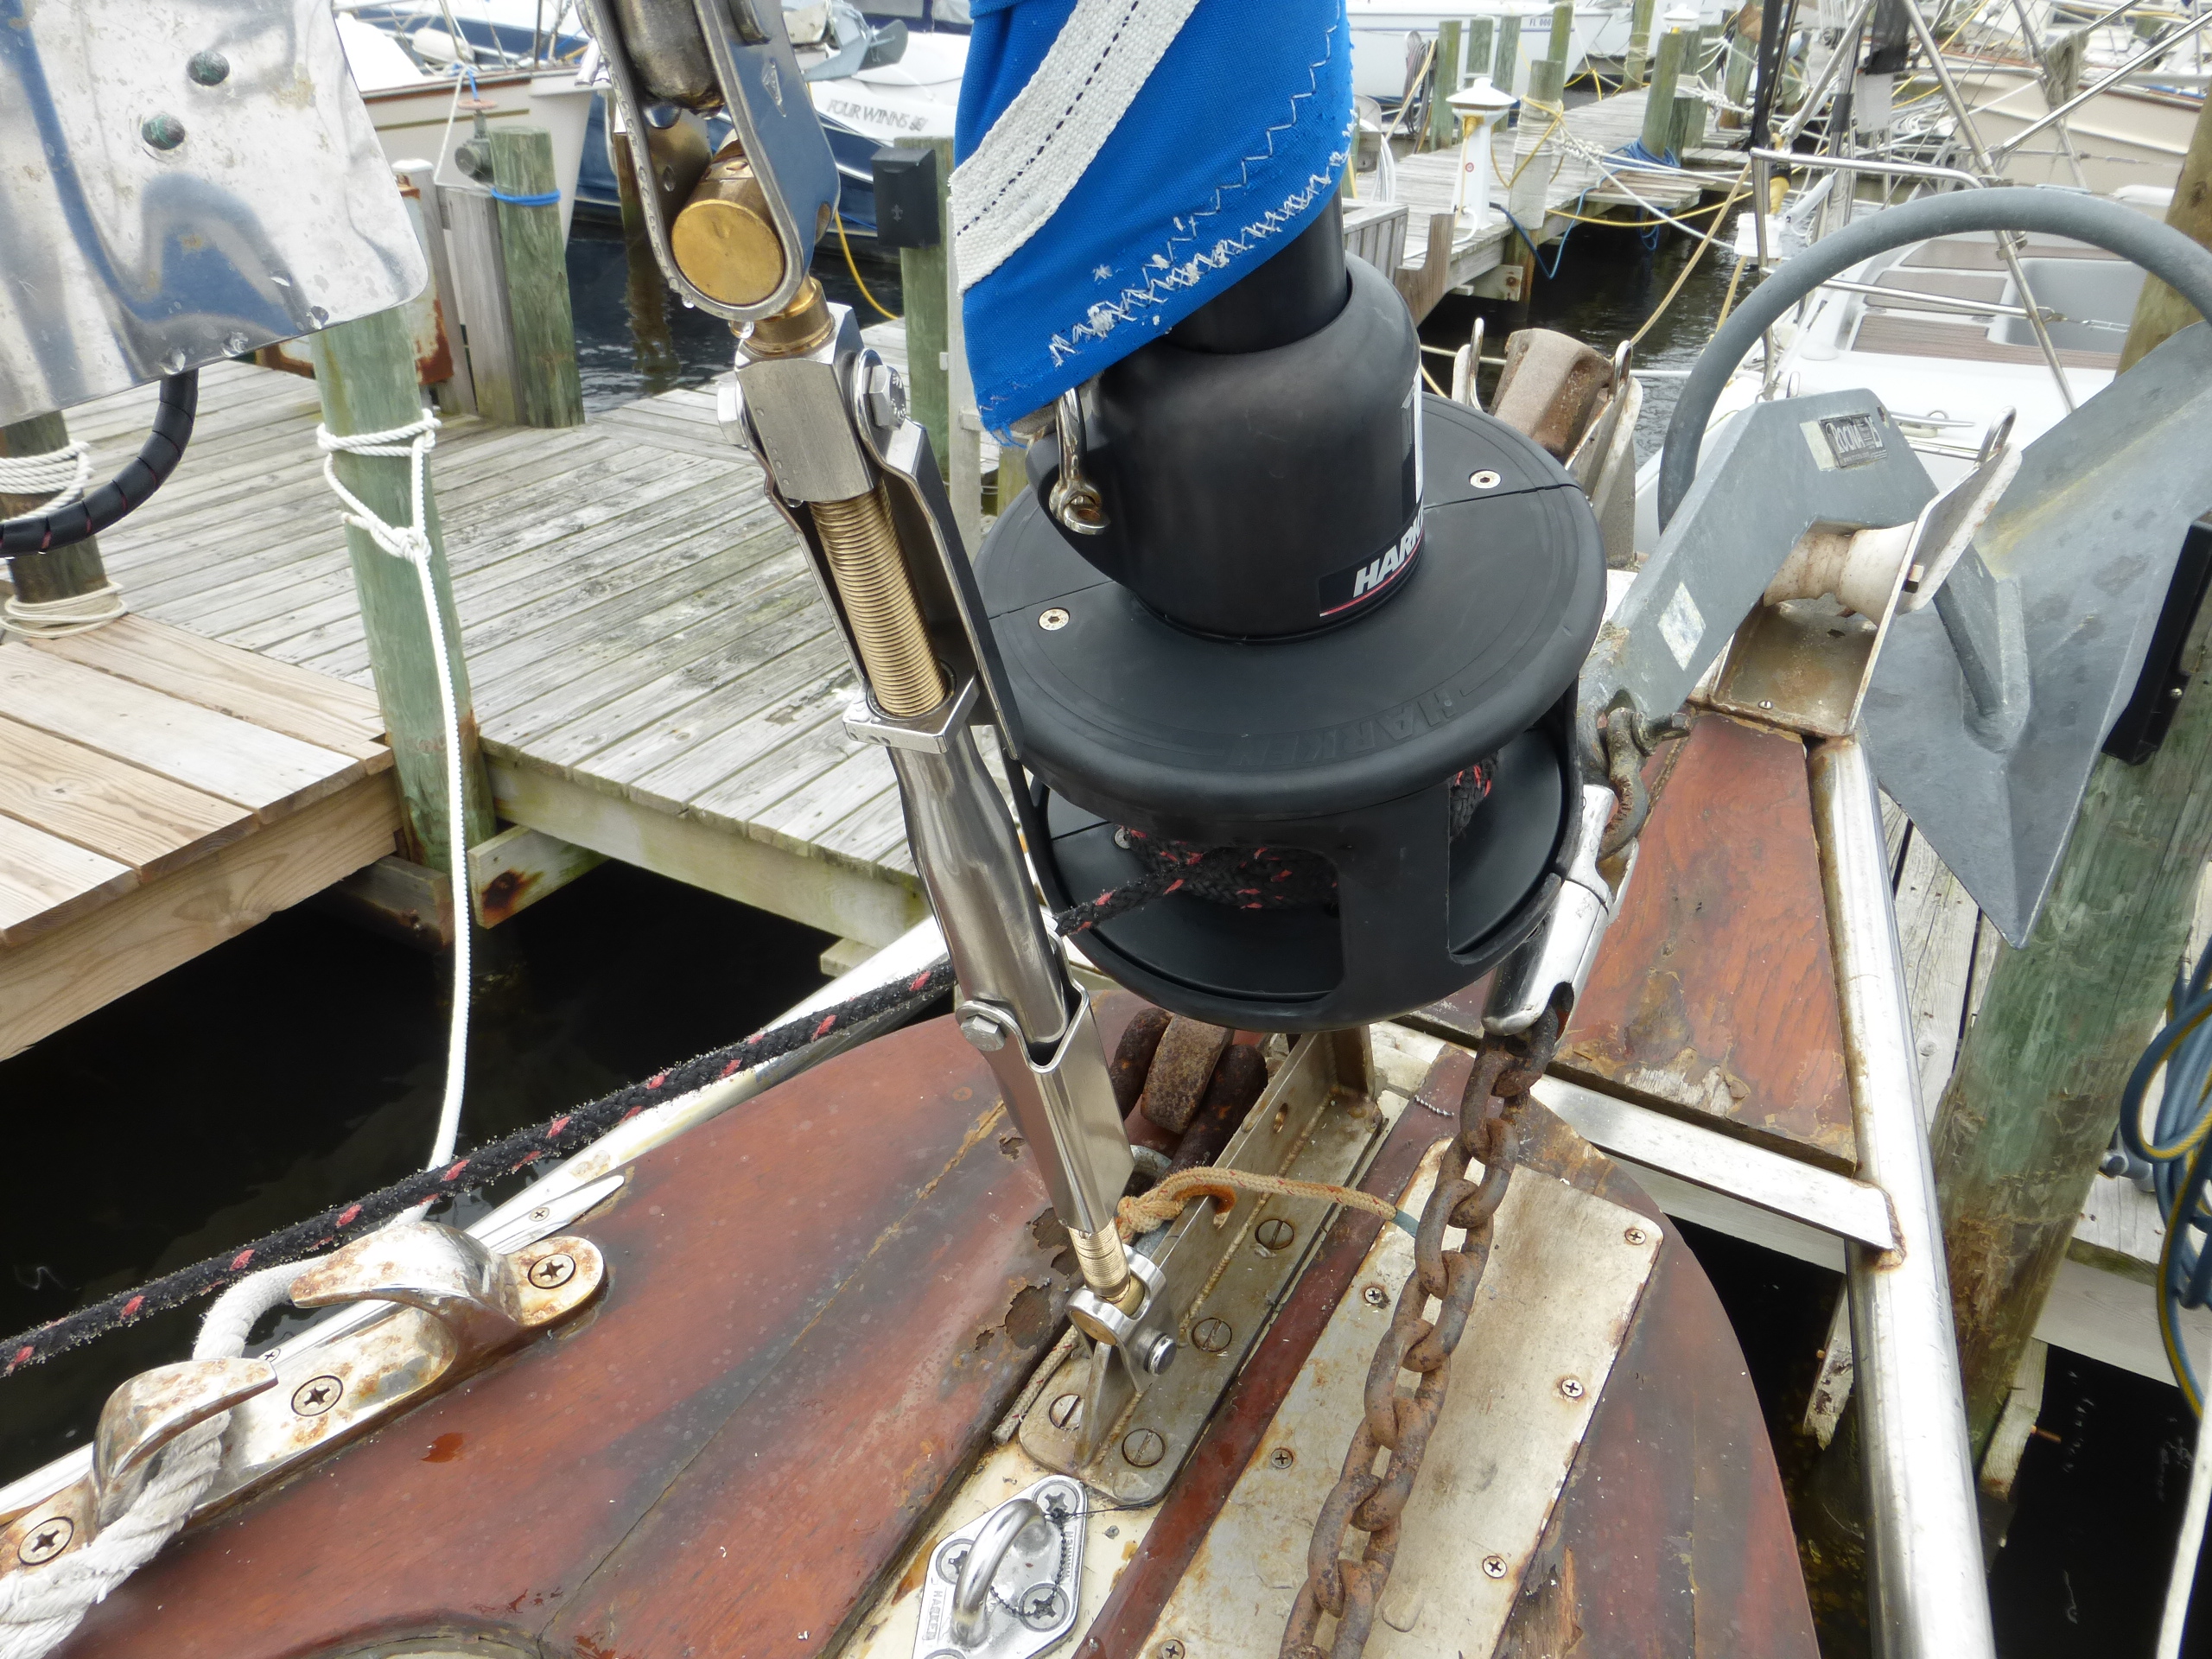
Anyway, about the project: As some may remember, the solent stay project has been on my scope for a while now, and I appreciate the advice of others on this site. One thing I learned was that previous solent stay efforts created another project; how to sheet the solent headsail at a tight enough angle for the sail to be useful going upwind. I hope I have achieved this by placing the bottom of the stay just aft of the existing forestay/furled jib. Previous efforts tacked the stay aft of the anchor locker. My stay runs roughly parallel to the forestay, and about 8 inches aft. Once my sail is delivered Iâm hopeful that I find I can achieve the proper sheeting angle for going close-hauled. My sailmaker, Schurr Sails, seems to think this will work just fine, though I will continue to have to route the sheets outside the shrouds.
The stay is secured at the top with a Wichard two piece mast tang. The tang is located about 28 inches from the top, and consists of two halves, mirror image of each other, that slip through a 4âX3/8â slot cut in the mast. The pieces go in one at a time and are fastened together once they are inside the mast. Then, holes are drilled through the mast to pick up the holes (already drilled) in the mast tang halves. Quarter inch SS rivets are then used to secure the tang assembly to the mast.
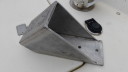
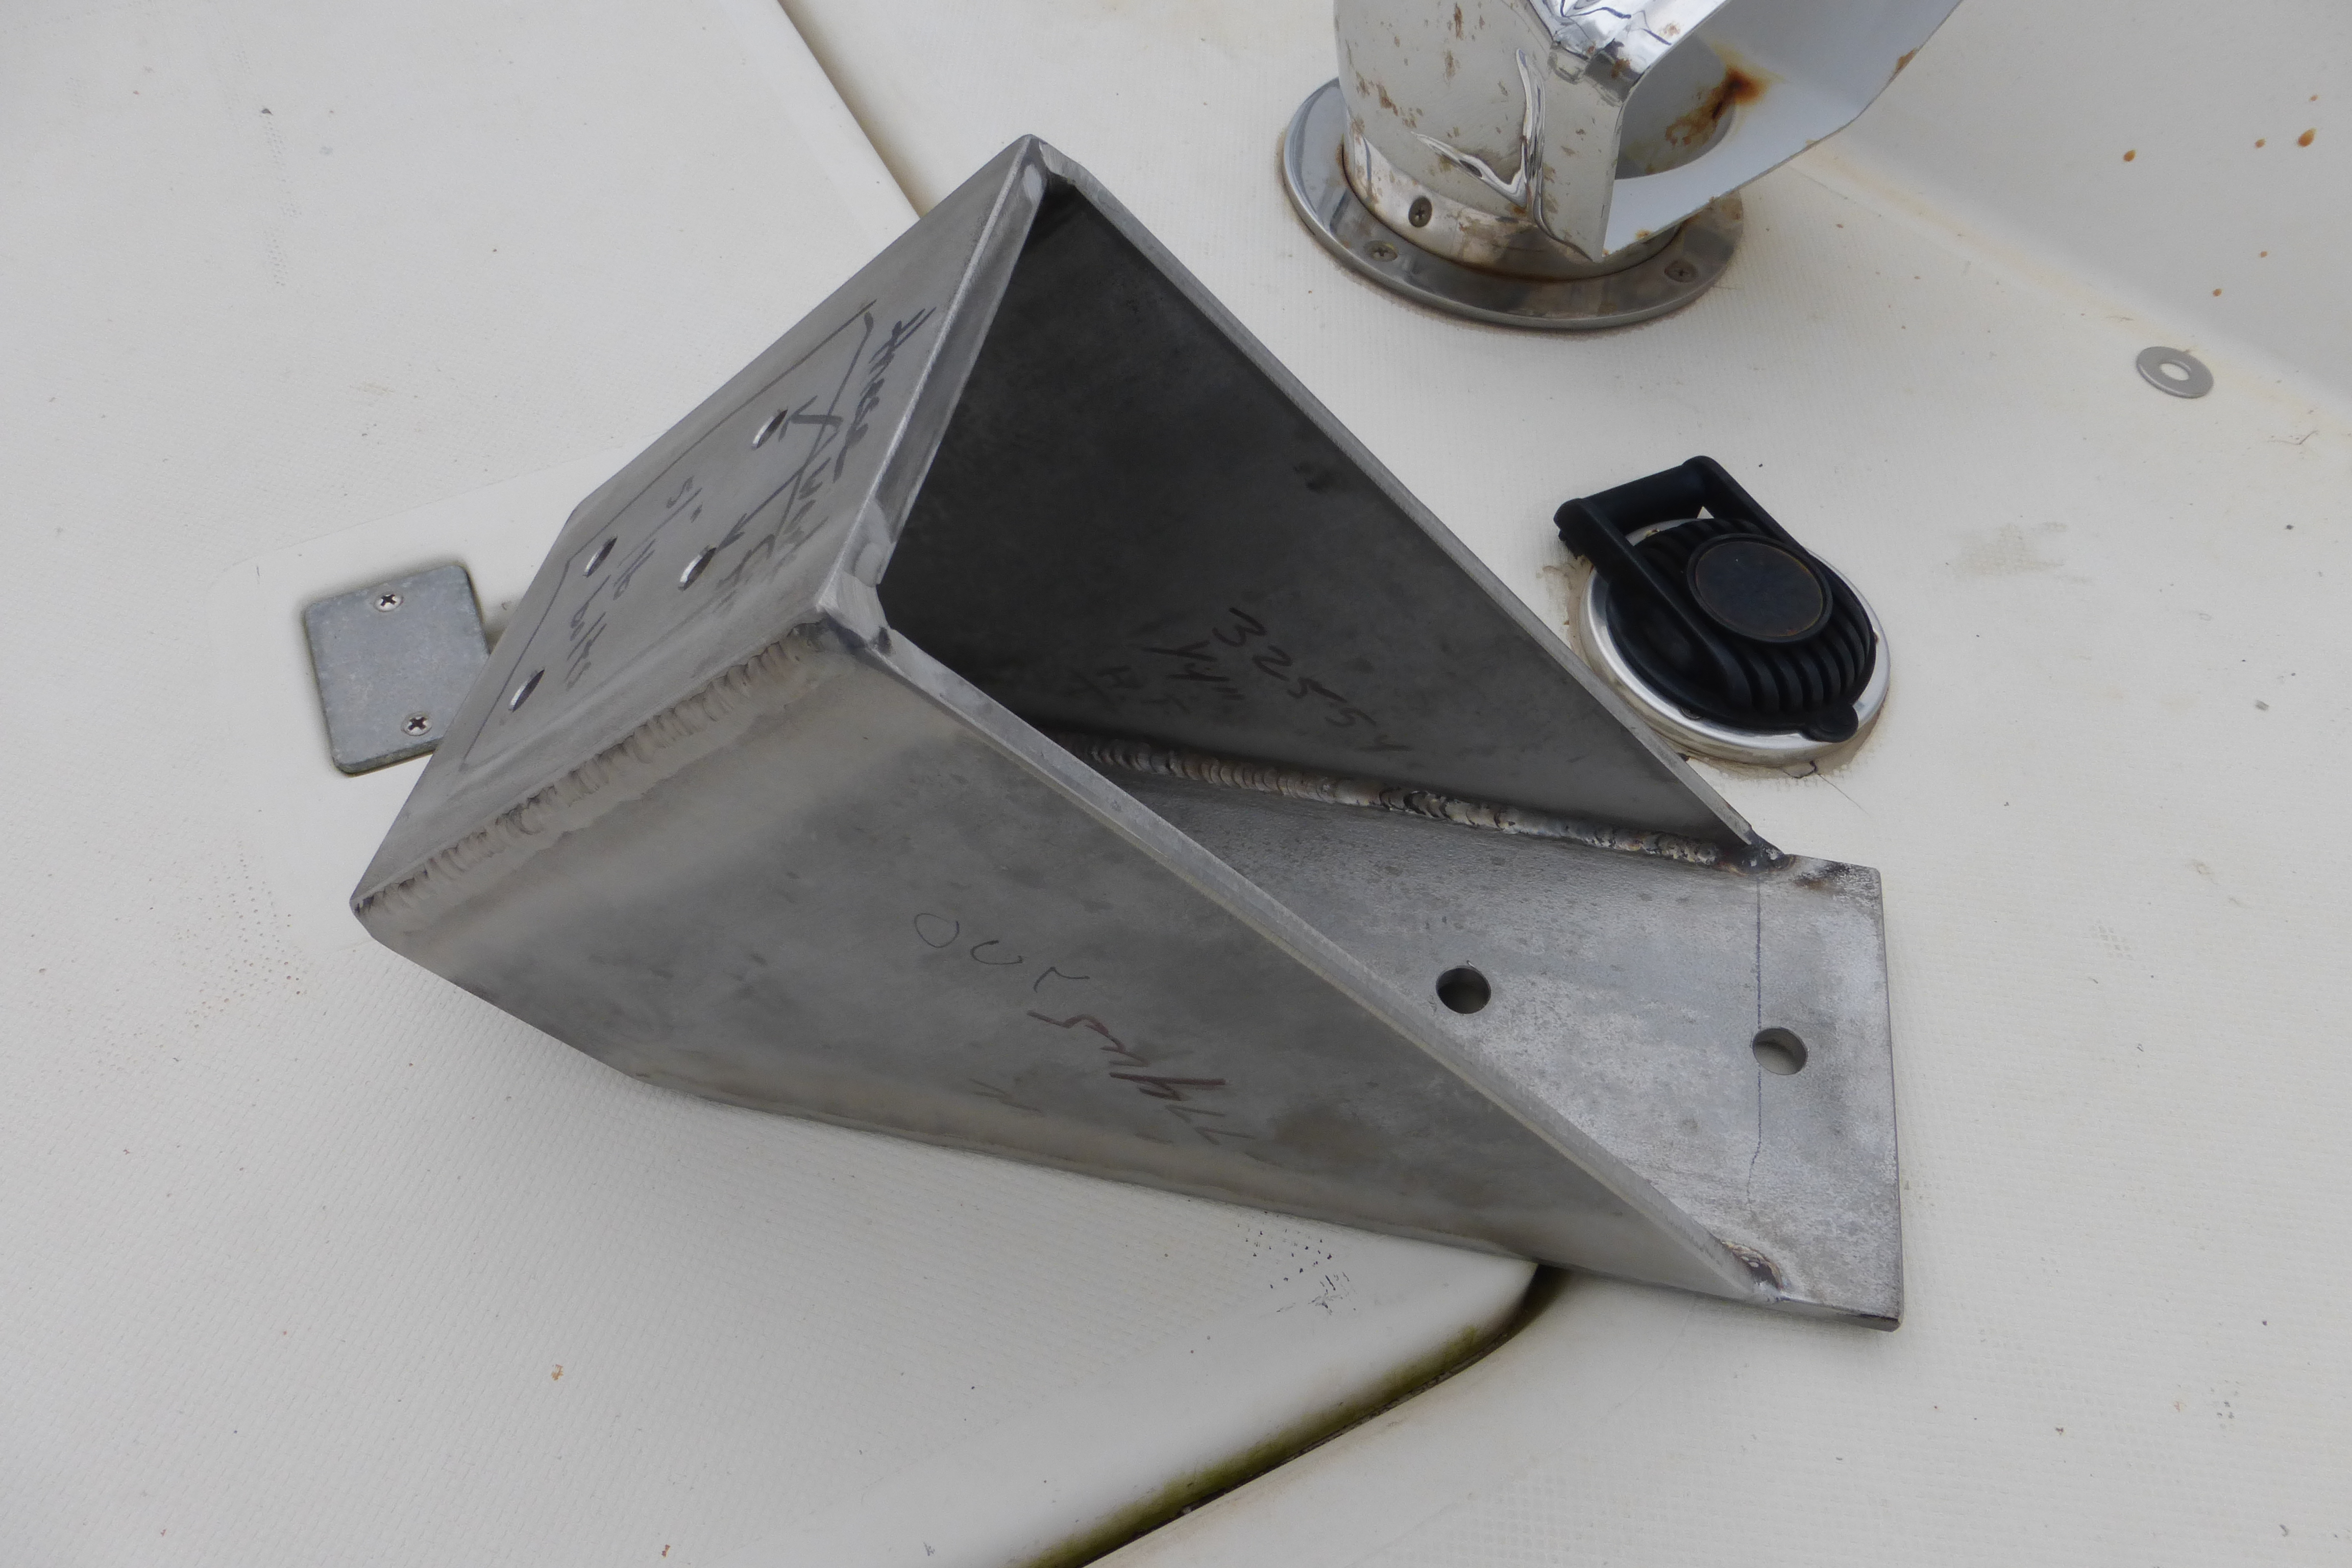
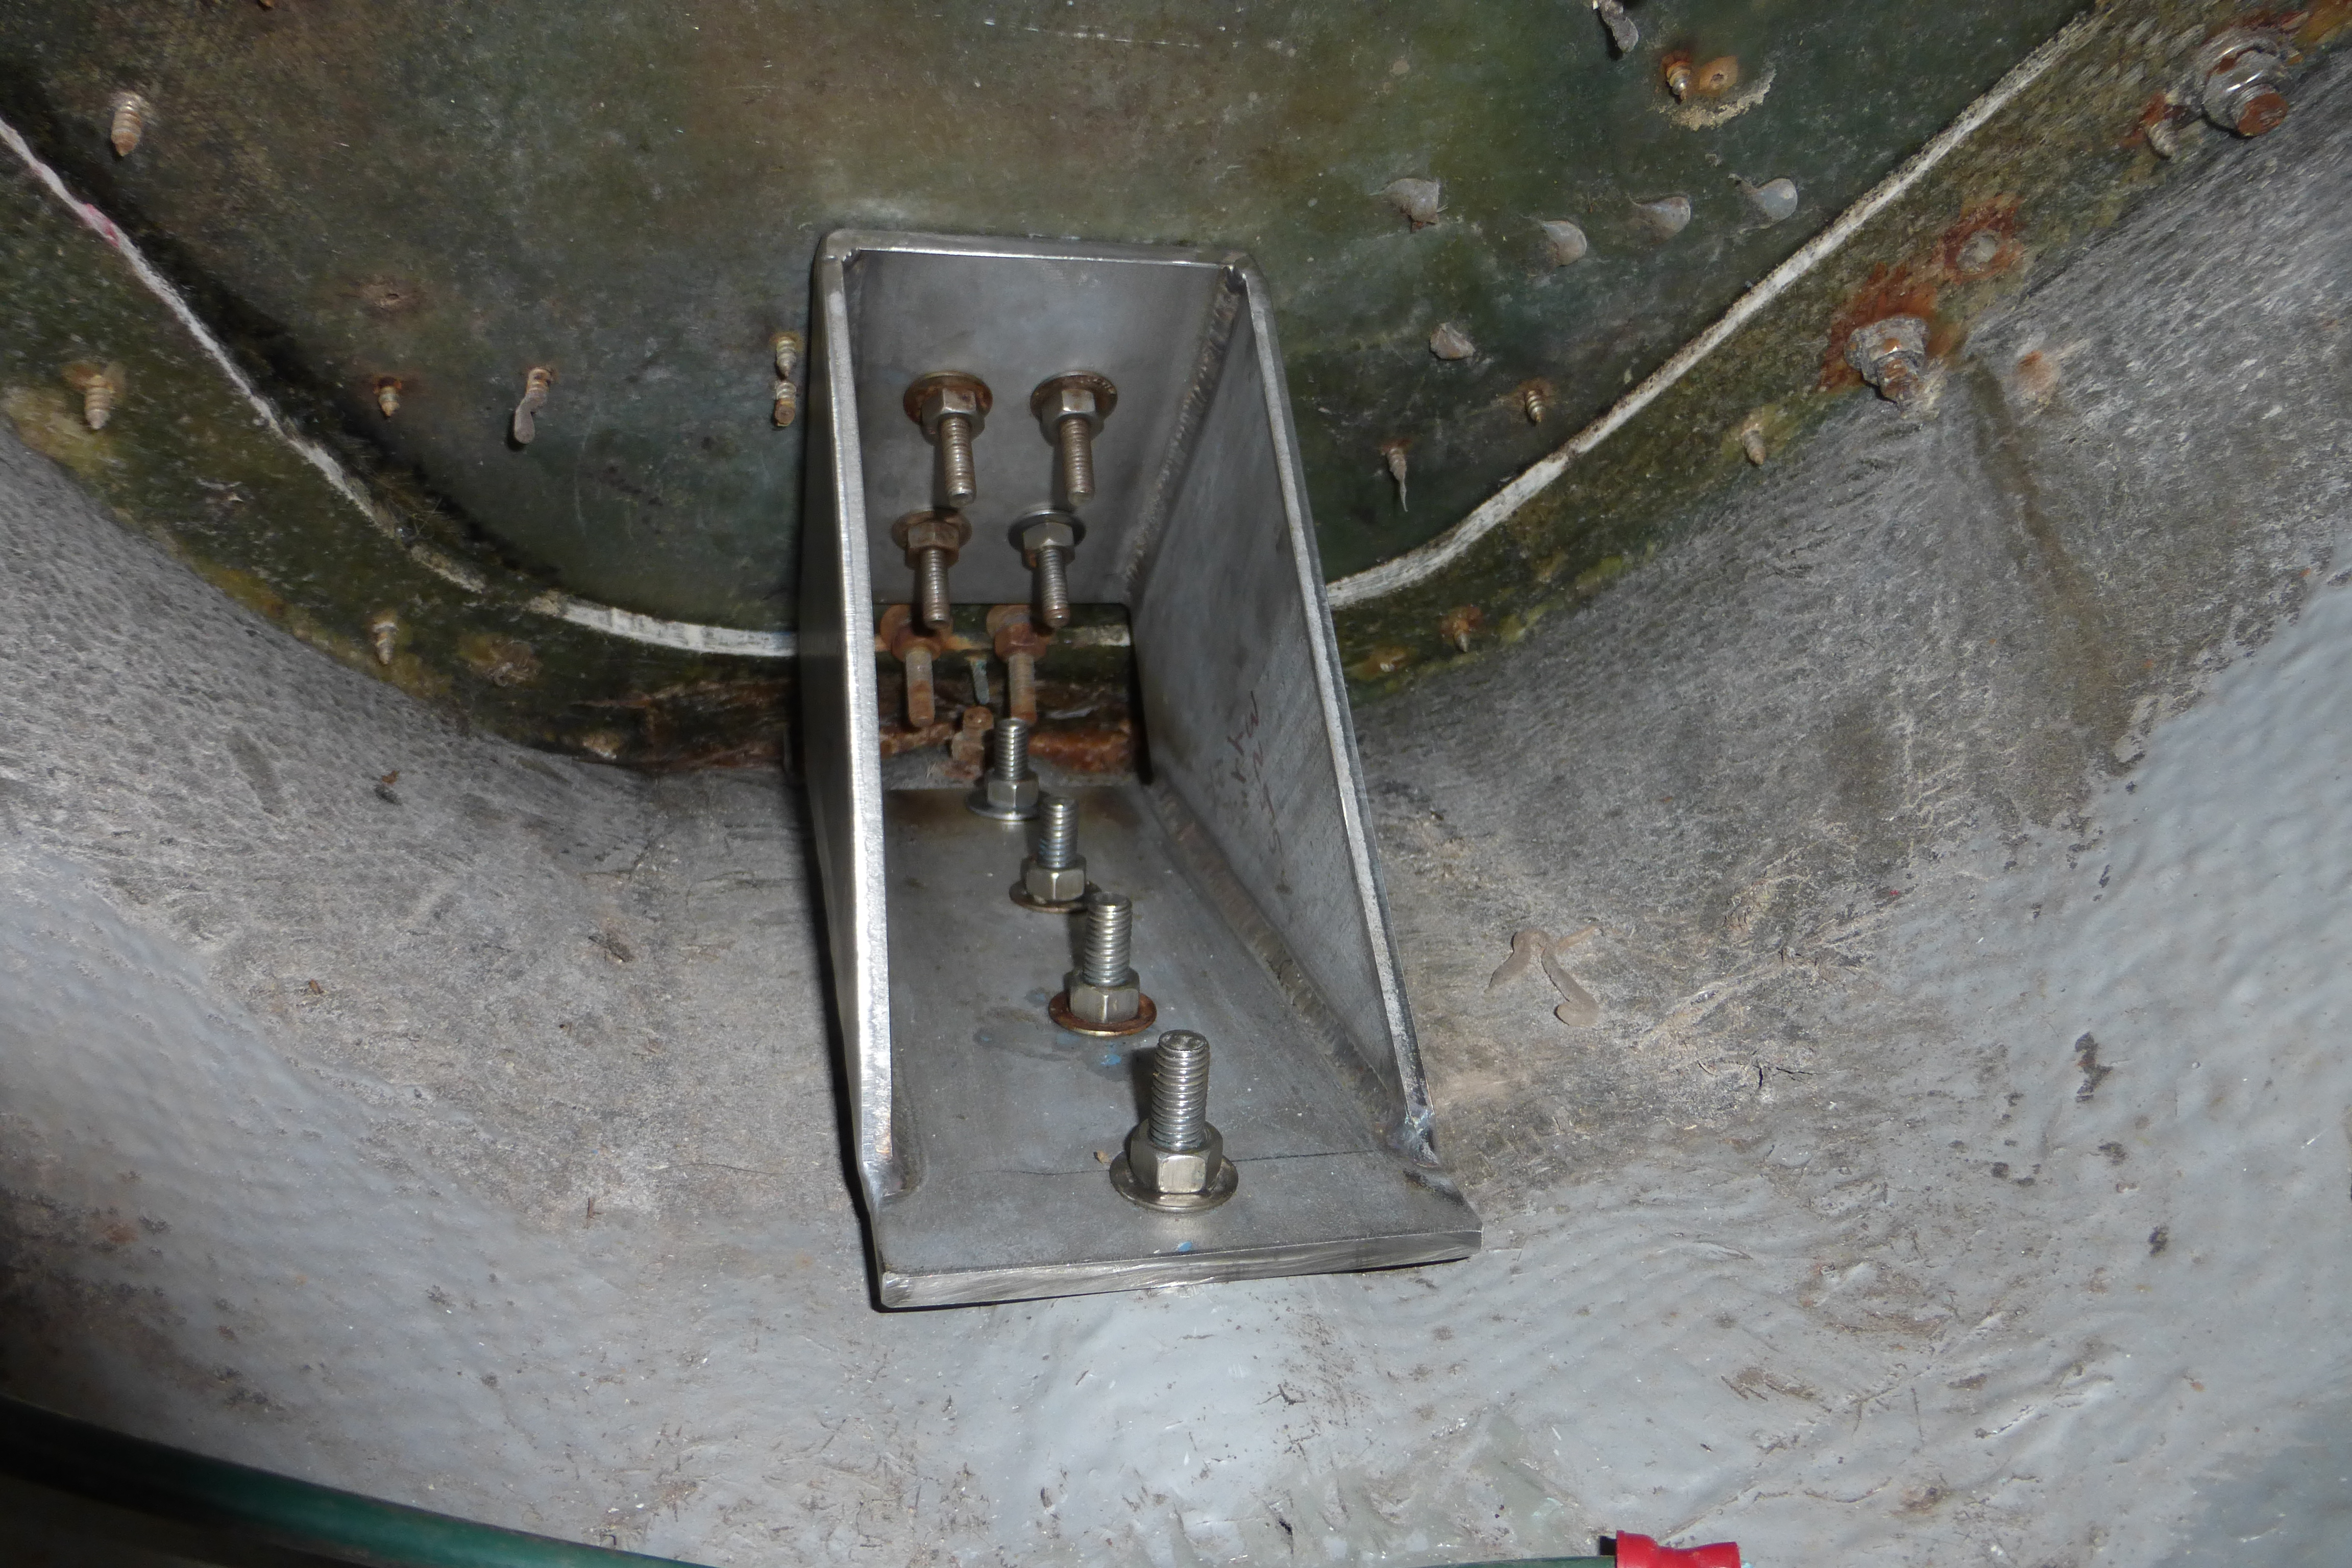
The bottom required some engineering, but not too difficult. It is basically a welded box section made of ¼â SS plate, that links the deck area about 8 inches aft of the forestay to the stem of the boat. It is bolted to the stem with the same fasteners that bolt the forestay chainplate to the stem. Easy to decipher from pics, if you can open them.
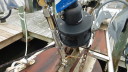
The sail Iâm having made will be 250 sq ft, reefable to 150. Not quite a storm jib, though I could easily hank one on to the solent stay if I had one. The stay is 5/16â SS, by the way, with a mechanism at the bottom to tension it. Itâs not a hyfield lever, but performs the same function. I bought it so long ago I canât remember the brand, though it would be easy enough to find I suppose if anyone wants to know.
Again, Iâm sorry about the large file size on the pics. Iâll have to send Ewan a bigger check next year (sorry money)! Now that I know how to resize, if anyone couldnât get the pics because theyâre out cruising, and wants them, I can retransmit.
David
Blue Moon, #189
-
February 4, 2016 at 7:06 pm #97938
 DavidParticipant
got a parts list?
-
February 4, 2016 at 7:09 pm #97939
Ken Page
ParticipantHow would one know if your sending an 8 mega bite file?KenTaking what comes as I get it, using it all as much as I can and trying hard to leave all the shit behind.
-
February 6, 2016 at 6:12 am #97982Participant
Dwbuettell,
This system is largely self made and self assembled. The tang at the top of the stay (mounted to the mast) is a Wichard 9150. Quarter inch SS rivets to secure. The stay itself is 5/16â 1X19 SS. You need about 45 feet, depending on where you locate the tang on the mast and the length of your tensioning mechanism at the bottom. I had a rigging shop swage on a âtangâ end fitting for the lower end of the stayâ¦fits into the âforkâ end of the tensioning mechanism. After cutting the stay to length, I installed a compression type âforkâ end at the top, to fit the Wichard mast tang. I used a HI-MOD brand compression fitting. I like them because they are easy to use and are fully re-usable without replacing the cone. This worked for me because I originally cut the wire rope too long. Regarding the tensioning mechanism: I cannot find the make of the one I used, which is unfortunate because after perusing the internet I believe it to the best for this application. Mine is basically a giant turnbuckle, with two handles which are flipped out to make adjustments. One handle holds the upper end from twisting and the other handle turns the turnbuckle body. The handles are about 4 inches long so they donât interfere too badly with the furled genoa when you are turning them. It is a high quality piece, and was recommended to me by a rigger I met at the St Pete boat show well over a year ago. I bought it, and didnât use till now. The Hyfield lever is another option for the adjuster, and Wichard builds numerous babystay and forestay adjusters. You could ask your rigger to recommend a model or show him a picture of mine.
The reinforcement bracket which reinforces the deck area was fabricated by my local marine welder. I mocked it up with cardboard, using an angle finder to determine the angle between the stem and deck. This was not difficult, but did involve time standing on my head in the anchor locker. My welder made the bracket from my cardboard mock up and did an excellent job. Fits perfectly. I specified ¼â SS plate, which might be overbuilt, but thatâs ok with me. Thatâs about it, except I did install a deck padeye just aft of the solent stay deck attach point for the purpose of securing the tack strop for the sail itself. If Iâd thought about if beforehand, I could have incorporated the backing plate for the padeye in the bottom end reinforcement bracket. As it was, I had to add a backing plate for the padeye. Shouldnât be a problem, as the real tension on the system is through the stay, not through the tack of the sail, but I still wish Iâd foreseen this need.
David
Blue Moon, #189
-
-
AuthorPosts
- You must be logged in to reply to this topic.