Forum Replies Created
-
AuthorPosts
-
Rich Harris
ParticipantBeing a relatively new 424 owner, I’ve learned a lot in the past 9 months. Both guides would be immensely helpful. I would suggest links on the guides to articles and threads that cover specific topics on what to look for and how to fix them.
I’ve gone page by page through the forum in search of information and it’s been very helpful. I’ve also used the search function but sometimes it doesn’t turn up every morsel of data available.
I’ve been a member of other forums in the past where the sub-forums were broken down into more sub groups so that members could go into areas that were specific to certain subjects. For instance we could break out electrical and further break that out to Charging, solar, wind generation, generator, shore power, wiring etc…
I know that’s a big job but it would really make finding information more like going to a catalog of data instead of a pile of single sheets of paper.
Just a thought.ParticipantWarren,
I had considered moving mine outboard and still wonder if I should have. The issue I see is sheeting angle for the genoa. By moving the shrouds further out, the sheeting angle of the jib is that much further. Is it a lot for a Pearson especially one like mine that isn’t going to see a race? I’m not sure but the boat isn’t exactly the best at pointing upwind, so I decided not to chance it. I’m also not a marine architect, more a backyard engineer, knowledgeable enough to be dangerous but wise enough to know that.
it would be interesting to know if anyone has made that change. It sure would be more convenient.ParticipantDennis,
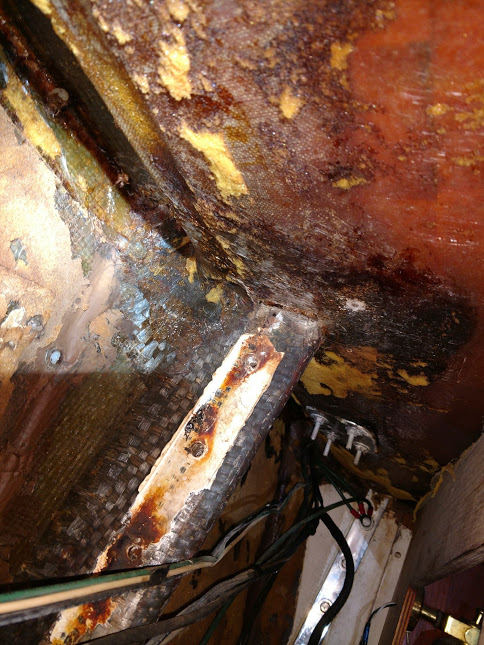
Sounds much like what I planned. I intend on removing the tabbing from the aft side of the rotted part of the bulkhead, cutting out the bad wood and like you using two pieces of staggered 1/2″ marine ply screwed and glassed to the old good wood. I’m planning on routing 4-6 inches for the offset. I will glass the forward side in with thickened epoxy to the old cleaned up tabbing then re-tab the aft side of the bulkhead with new glass. Once everything is in, I plan to fill in the myriad of no longer used drilled holes in the bulkhead and veneer the aft side of the bulkhead. During the glassing process, the holes in the forward side of the tabbing will be filled with thickened epoxy and when I install the new chainplate, I’ll just re-drill a complete set of new holes.
Tearout begins tonight.ParticipantProgress has been slow but sure. The heat here has been a factor and I also have a J.O.B. as well as other obligations. Cap shrouds are complete and came out well. Aft lowers are almost ready to bed. At each deck penetration I took out all the old sealant as well as deck coring with a bent nail. I also drilled the screwholes out for the covers and filled them with west epoxy mixed with 404 filler after bolting in the new chainplate wrapped in wax paper. If I do have leaks, there will be no chance of getting water into the core. Once the epoxy is hardened off, I removed the chainplate and cleaned u the hole and deck around the hole finishing with a 45 degree chamfer on the edges of the hull penetration. This allows for a pretty loose fit thanks to the waxpaper and the chamfer allows the butyl tape to seal the joint thoroughly. So far everything is working great. We’ve had some pretty good rainstorms since completing the first few and everything is dry so far. Time will tell how it lasts.
ParticipantDennis,
I hate resurrect an old thread but I was wondering how this repair was finally done. Unfortunately I’m facing the exact same thing that you had to and will probably attack it the same way you proposed. Any insight would be appreciated.
Thanks,
RichParticipantUPDATE:
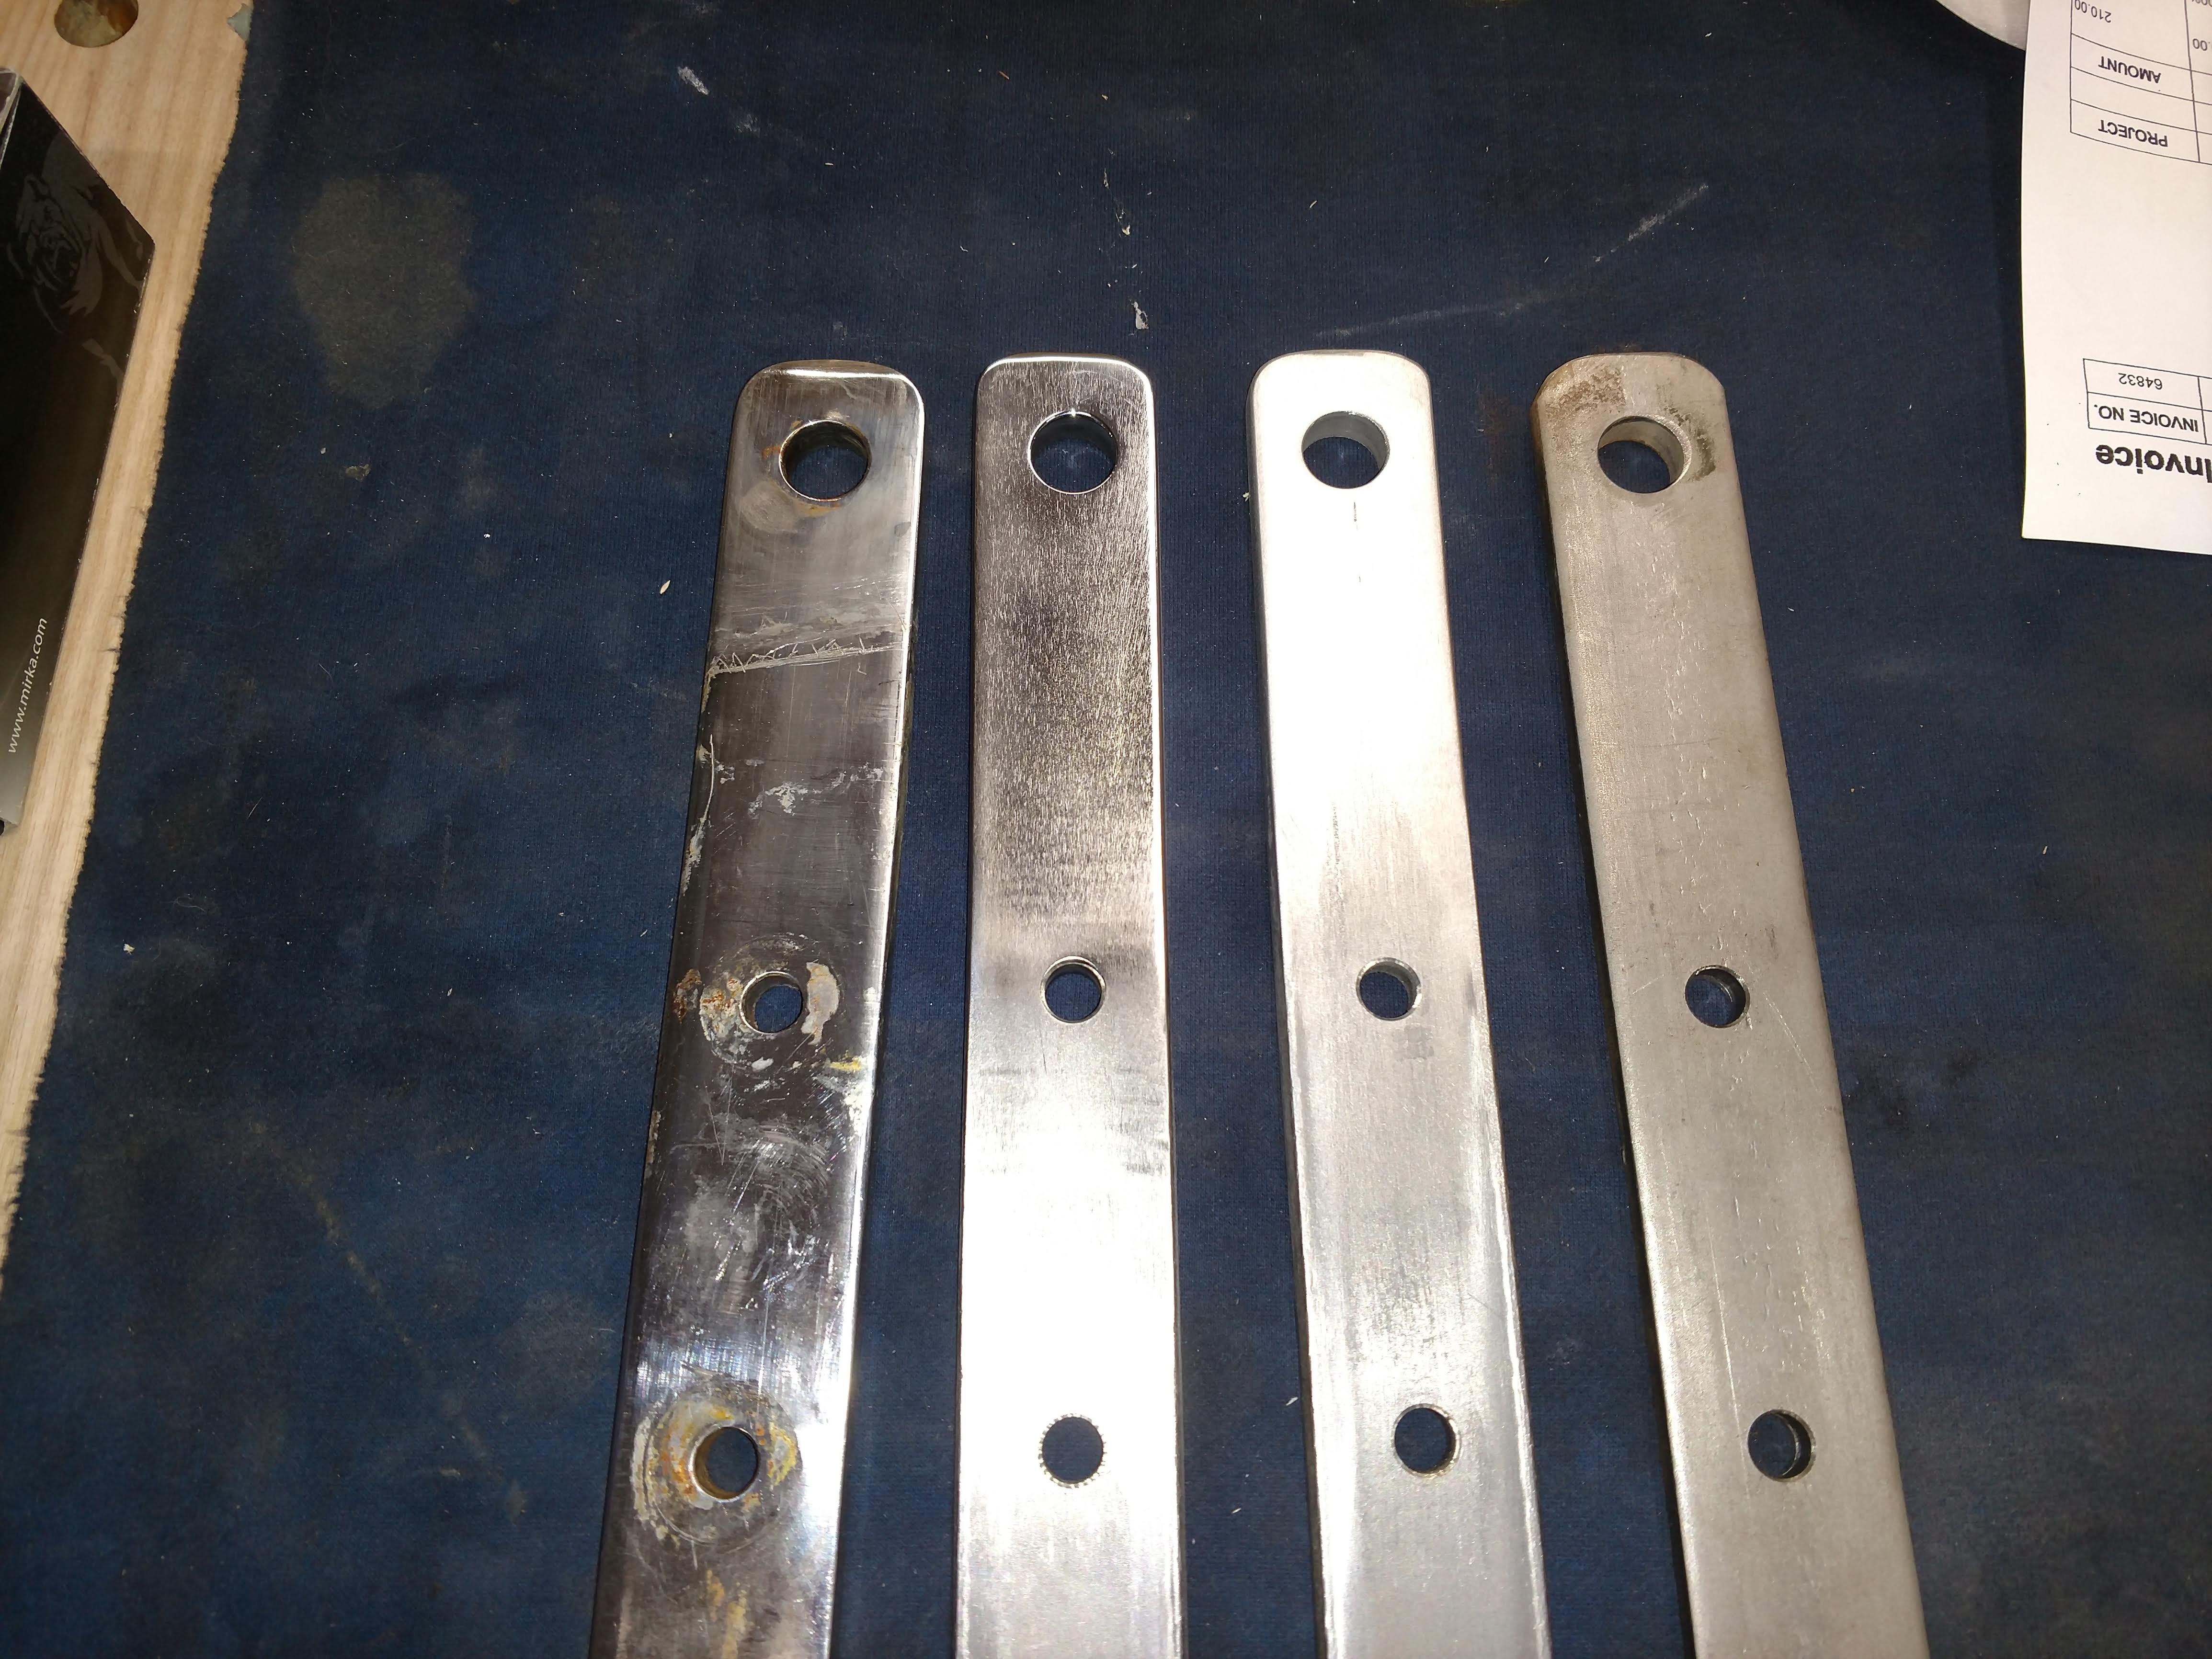
Last week I ordered 2-6′ lengths of 3/8 x 1-1/2 316 stainless. It arrived on Thursday and I took them to a local Amish machine shop. He did the cutting and drilling for $210. A value in my opinion. I was once a machinist in my early 20’s and without the proper tools, it’s a painful job.
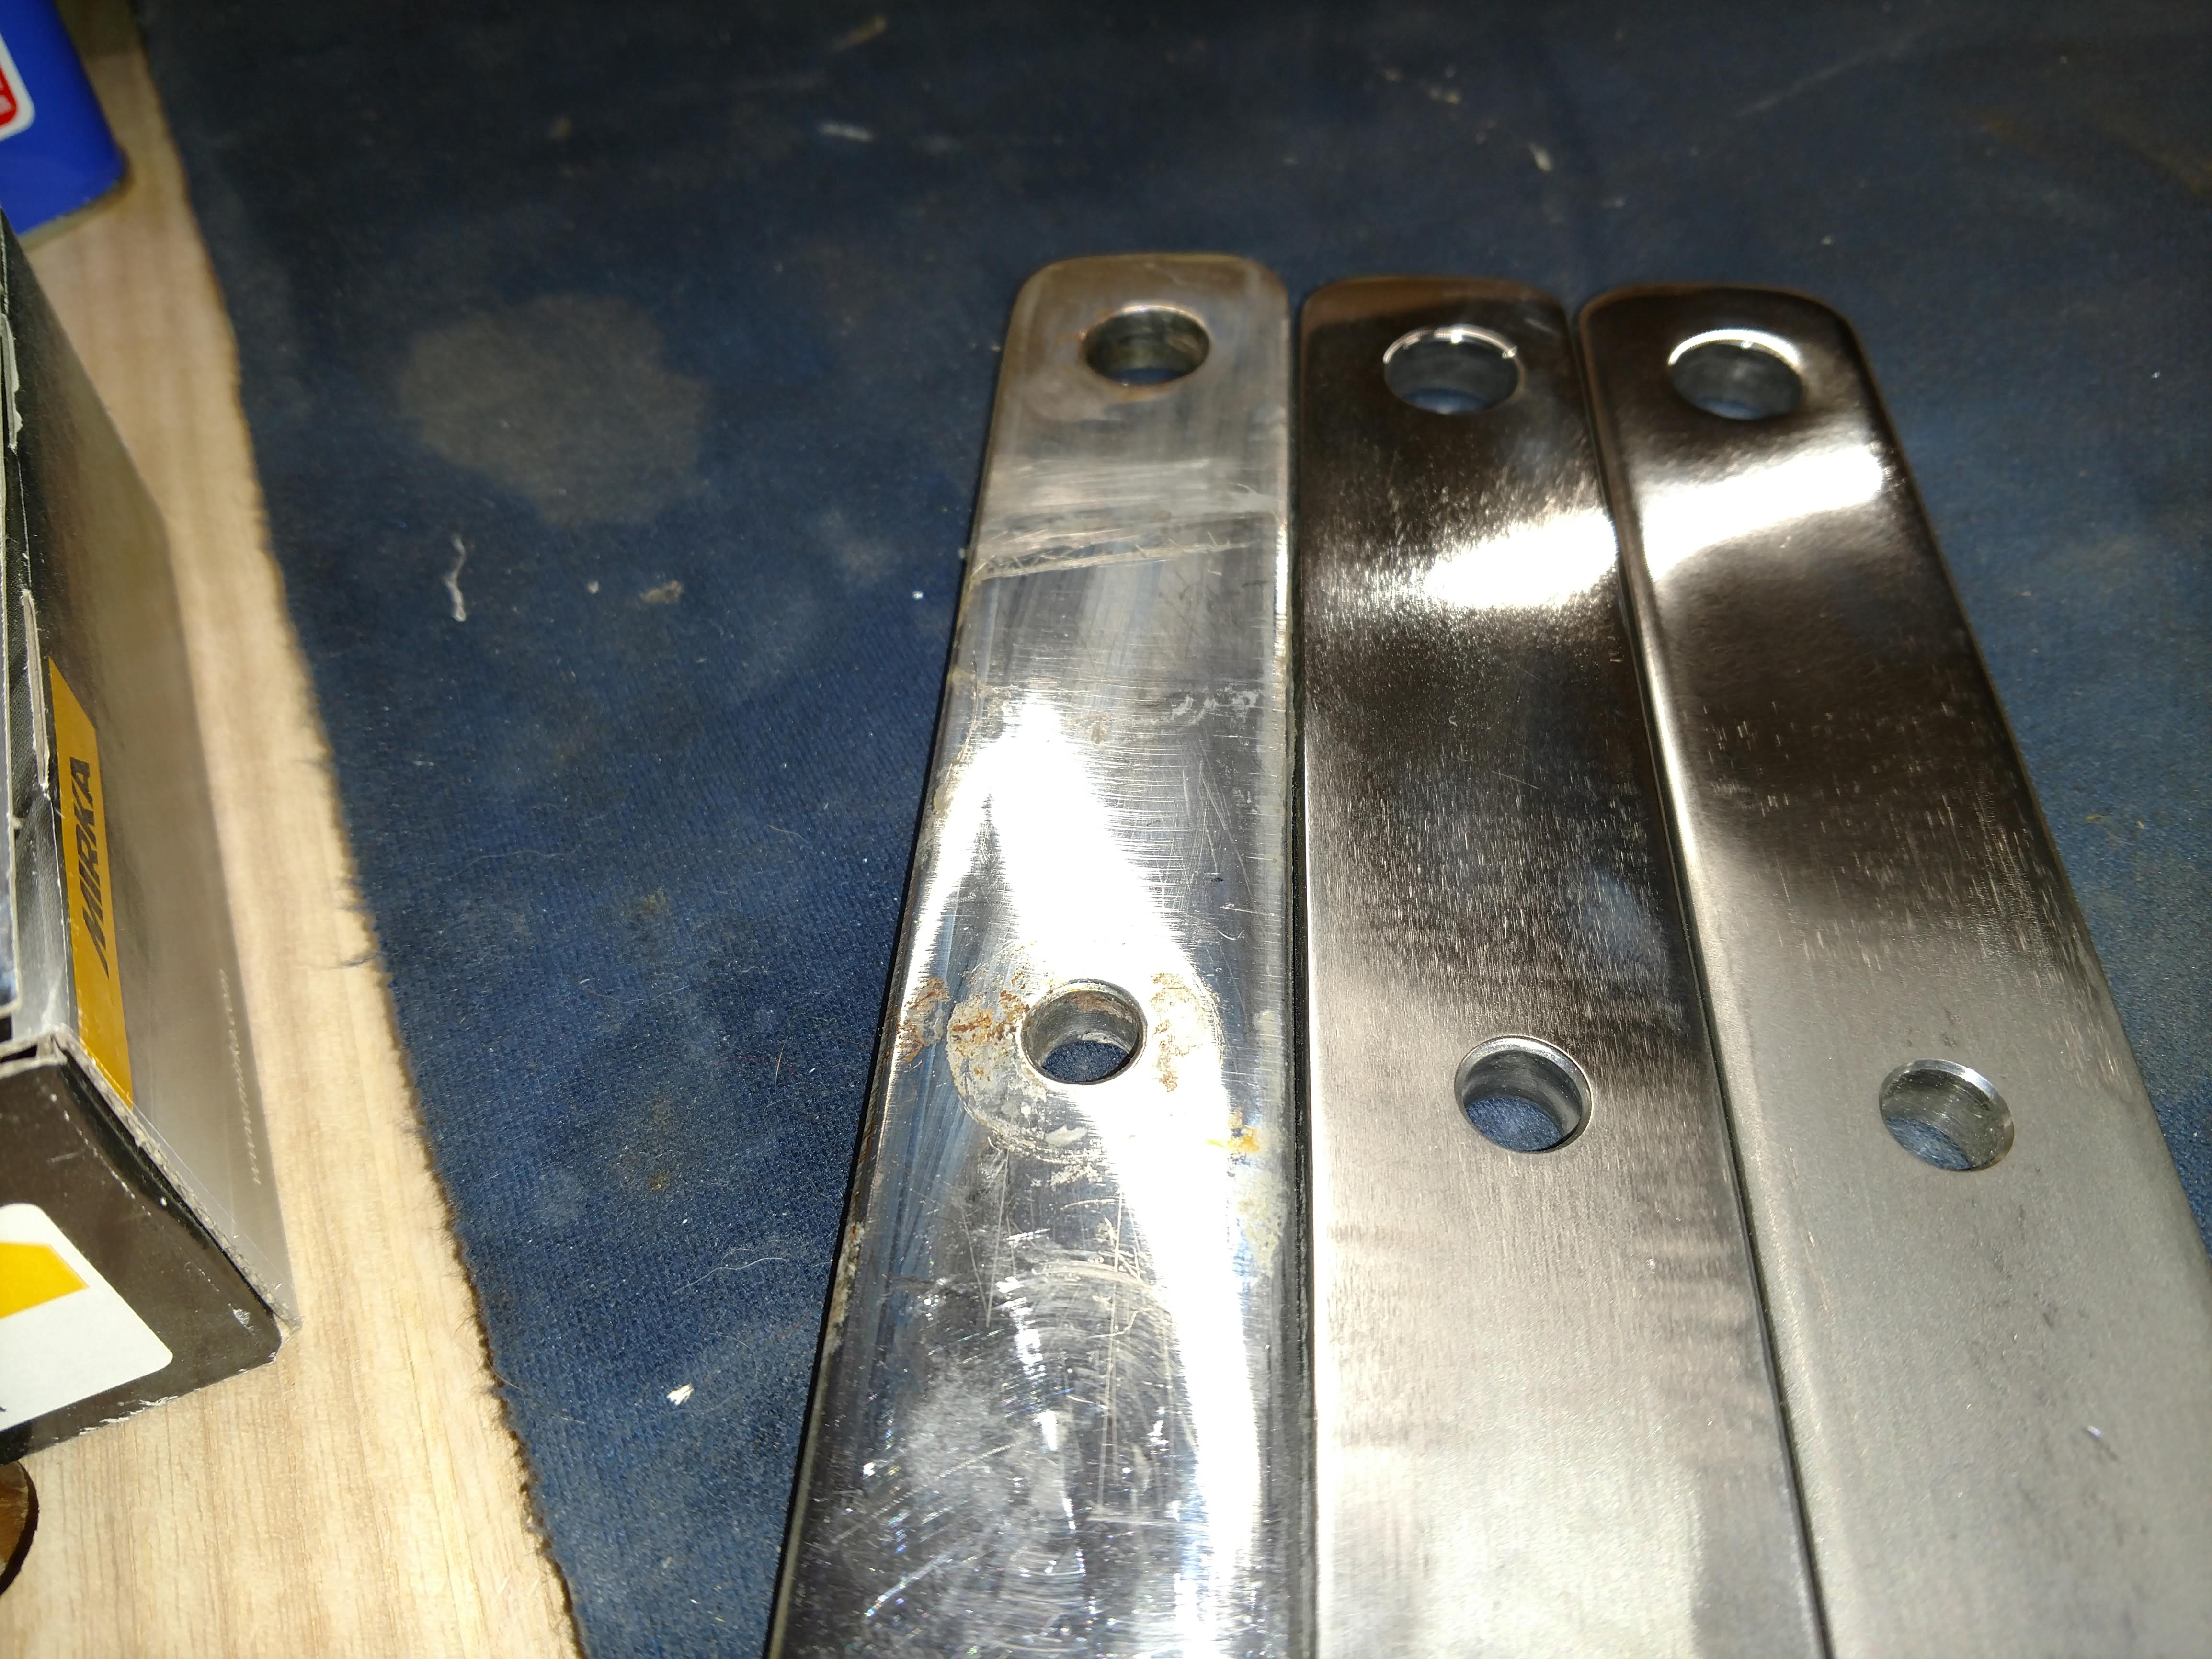
I Picked up the parts today and they look great. The parts still need polishing and after much deliberation, I decided to hand polish the top three or four inches. Finding a place to electropolish locally was impossible and I’m missing out on good sailing weather on the bay so I dove right in. Anything below that top few inches will be below deck level and I shouldn’t have to worry about corrosion if they are kept dry (I know).
The finish isn’t nearly as high a luster as the originals were, but I think it will do. (see the photos).
The first one was exploratory in nature, trying to figure out the most efficient way to polish the ends without removing too much metal. It took about two hours to get to a decent finish. The second one took about 30 minutes.
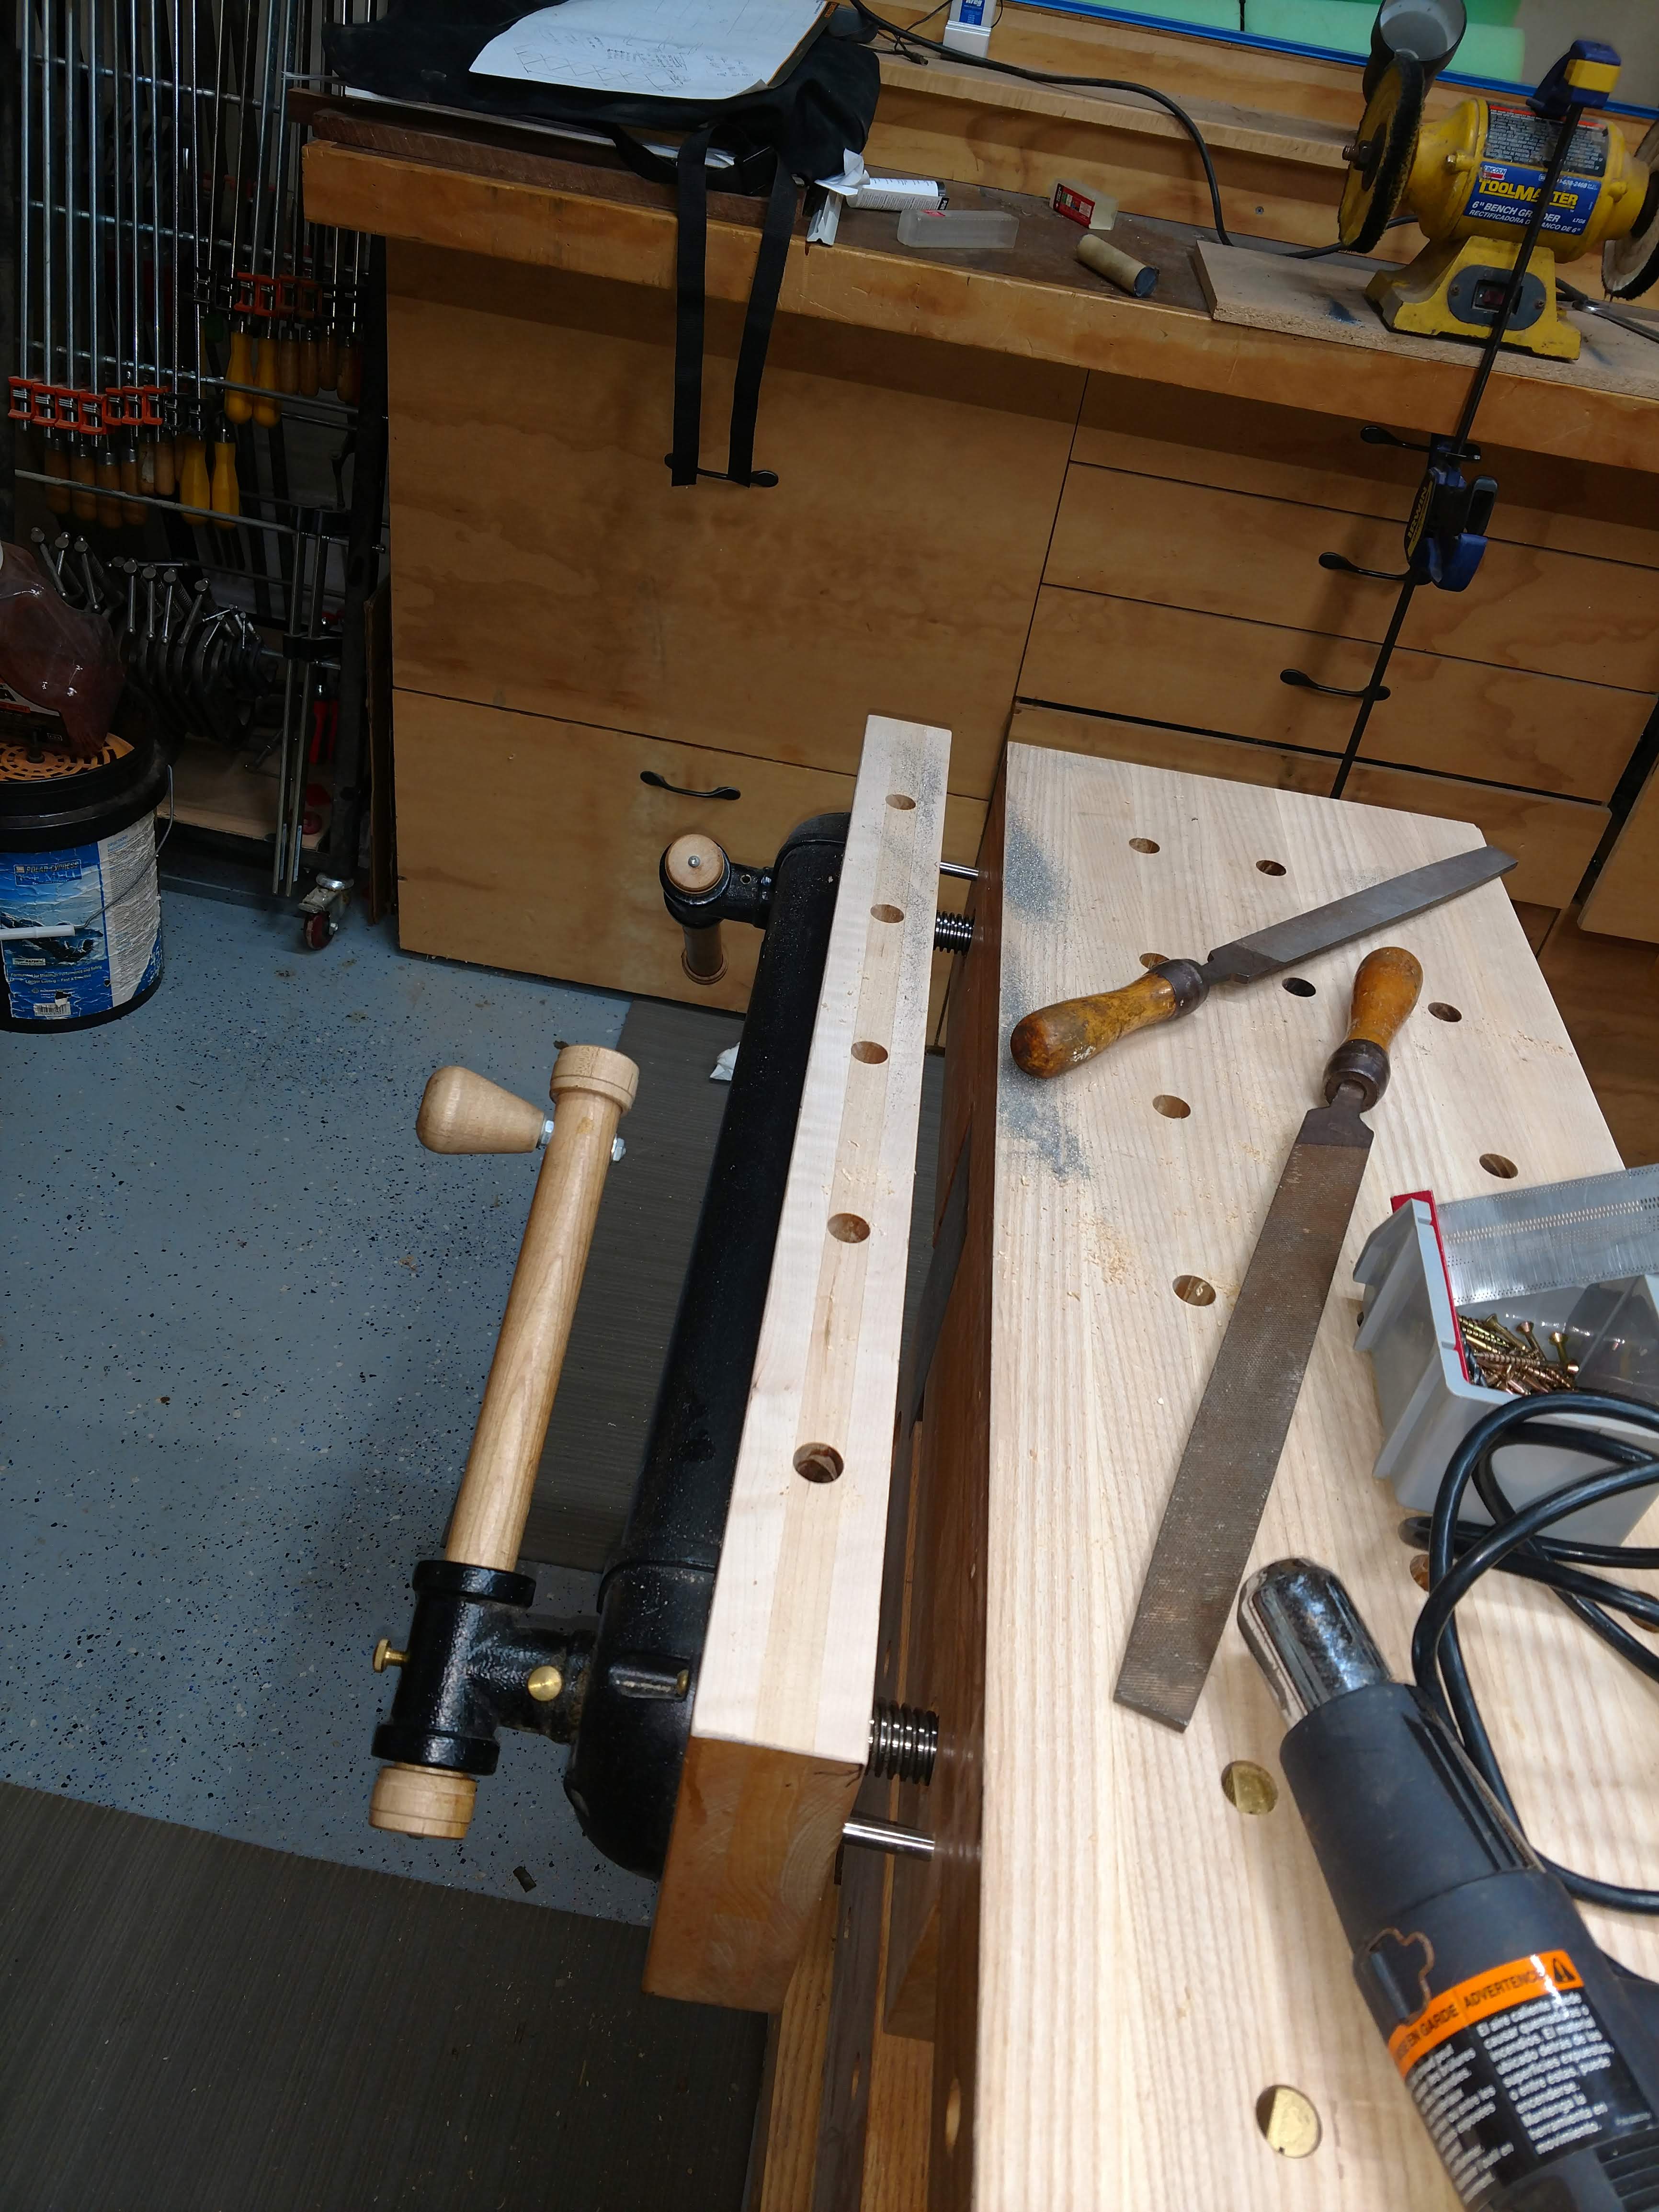
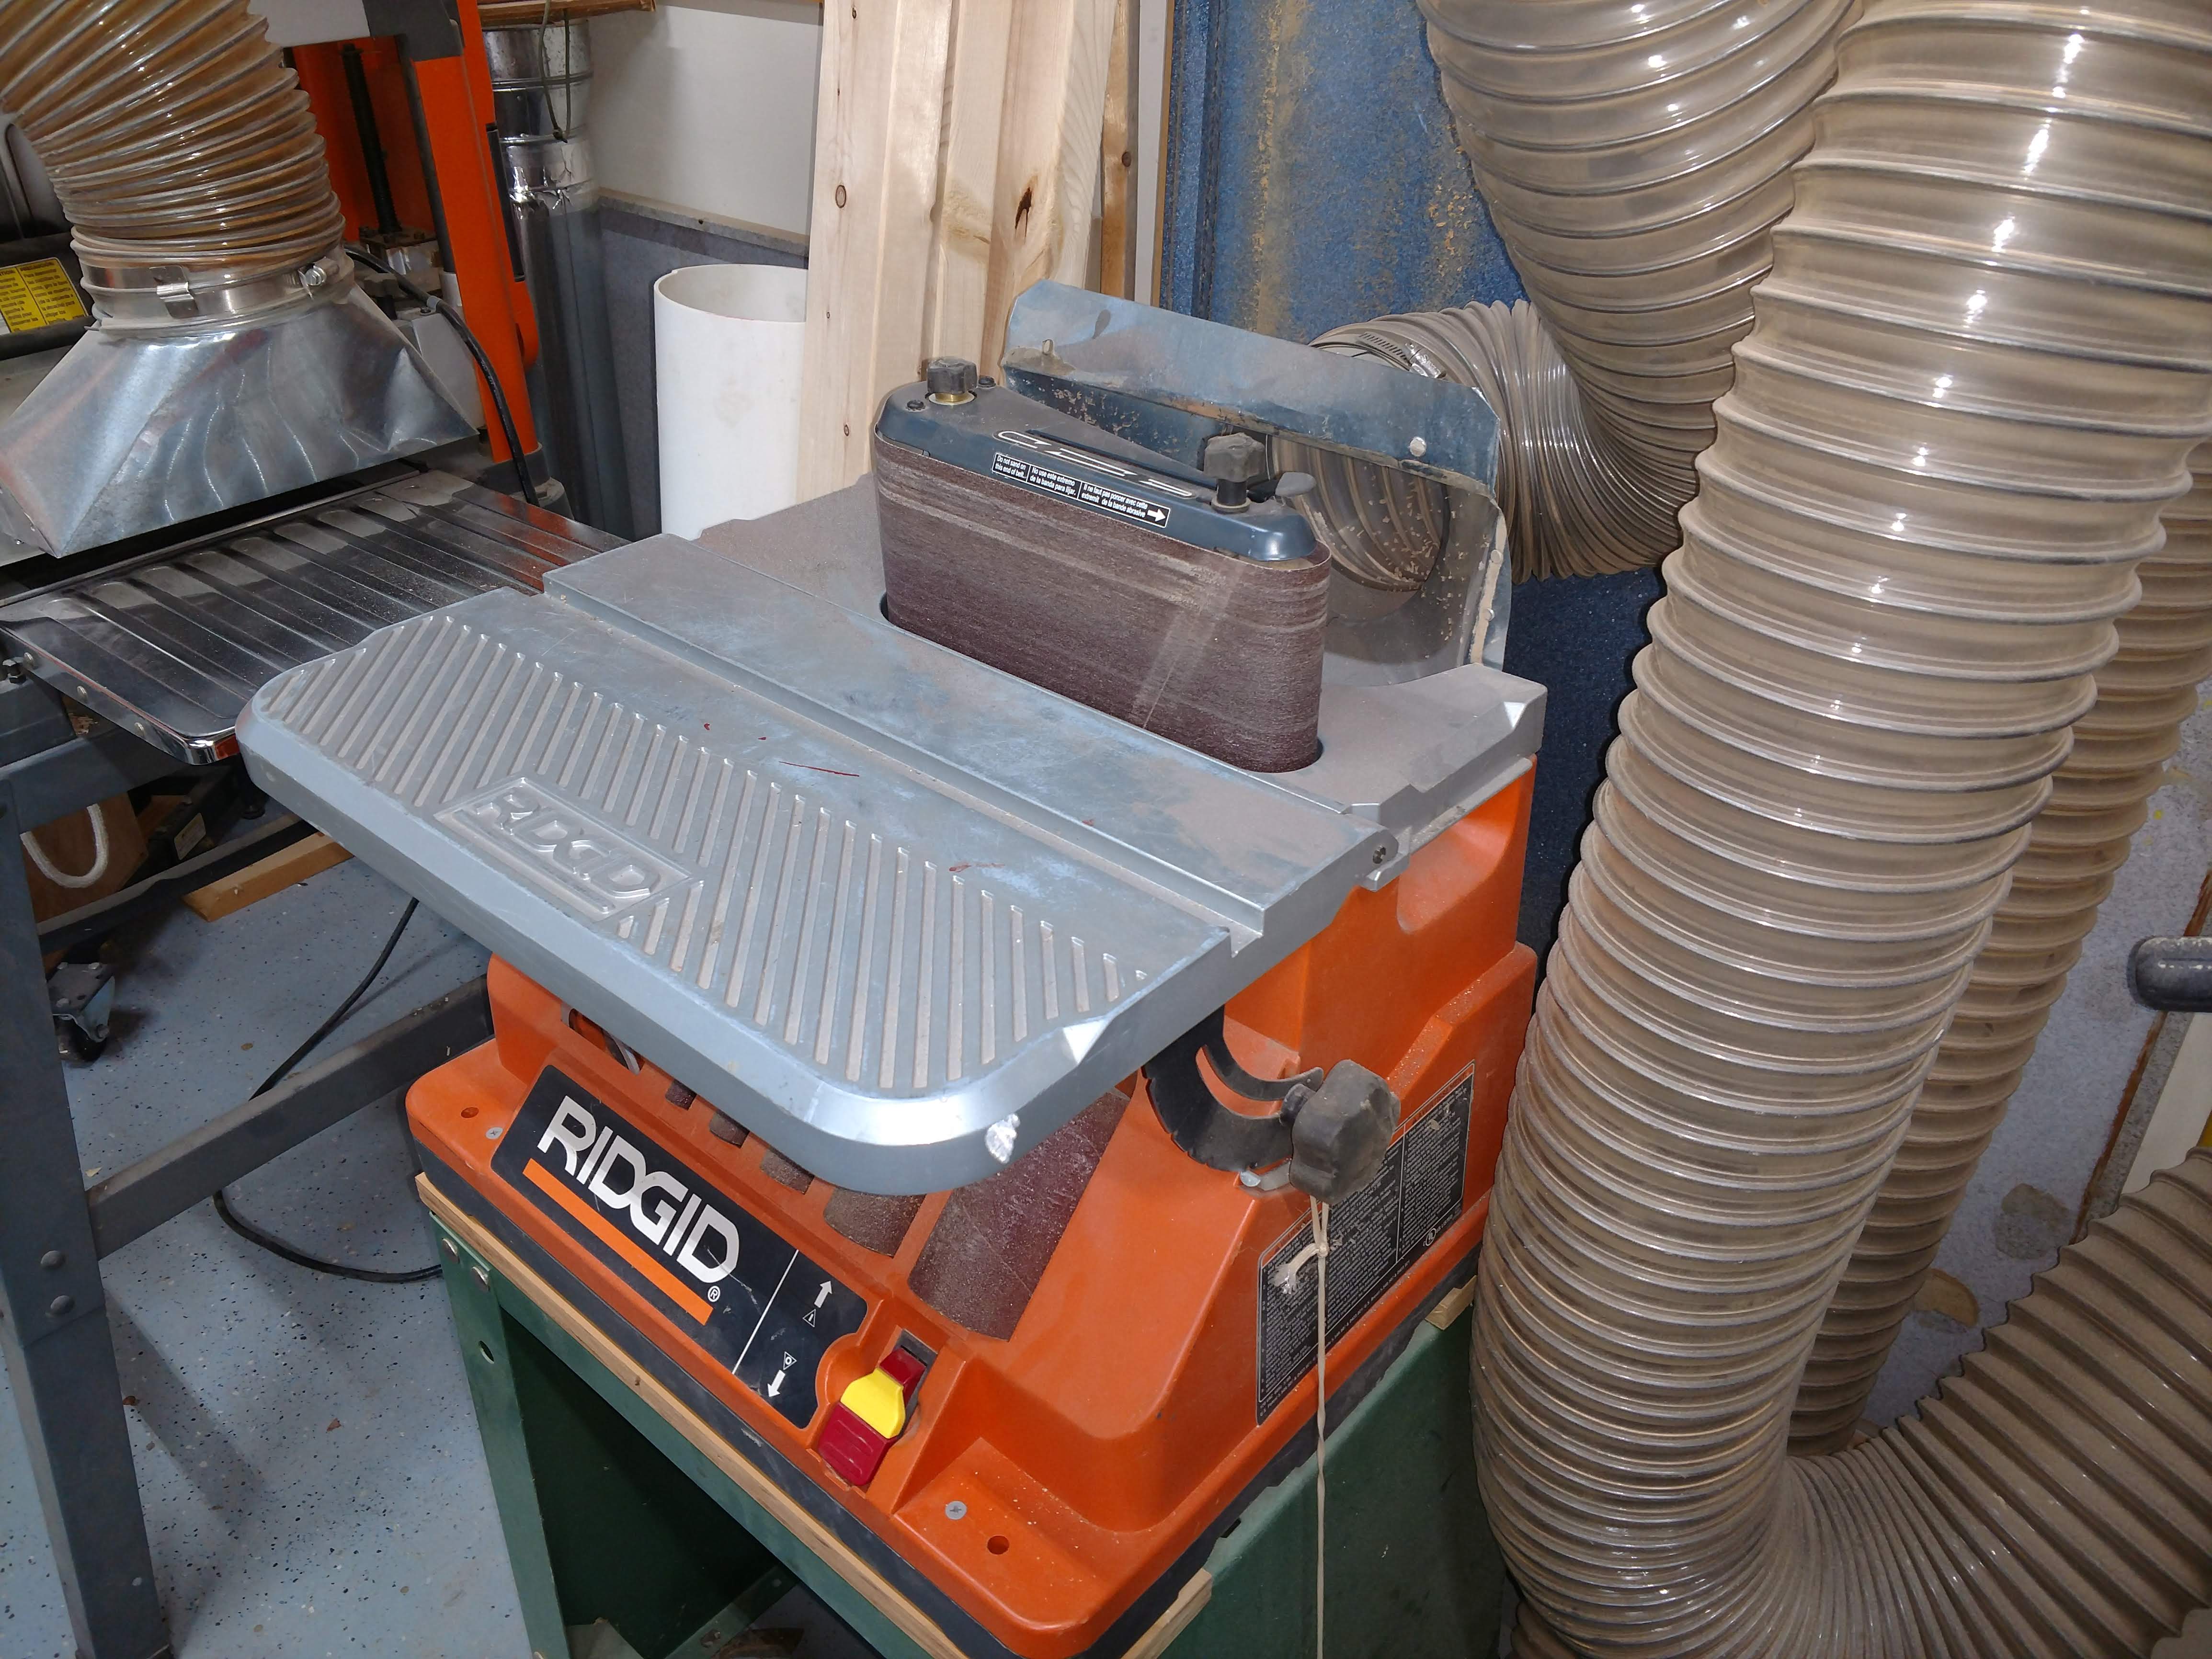
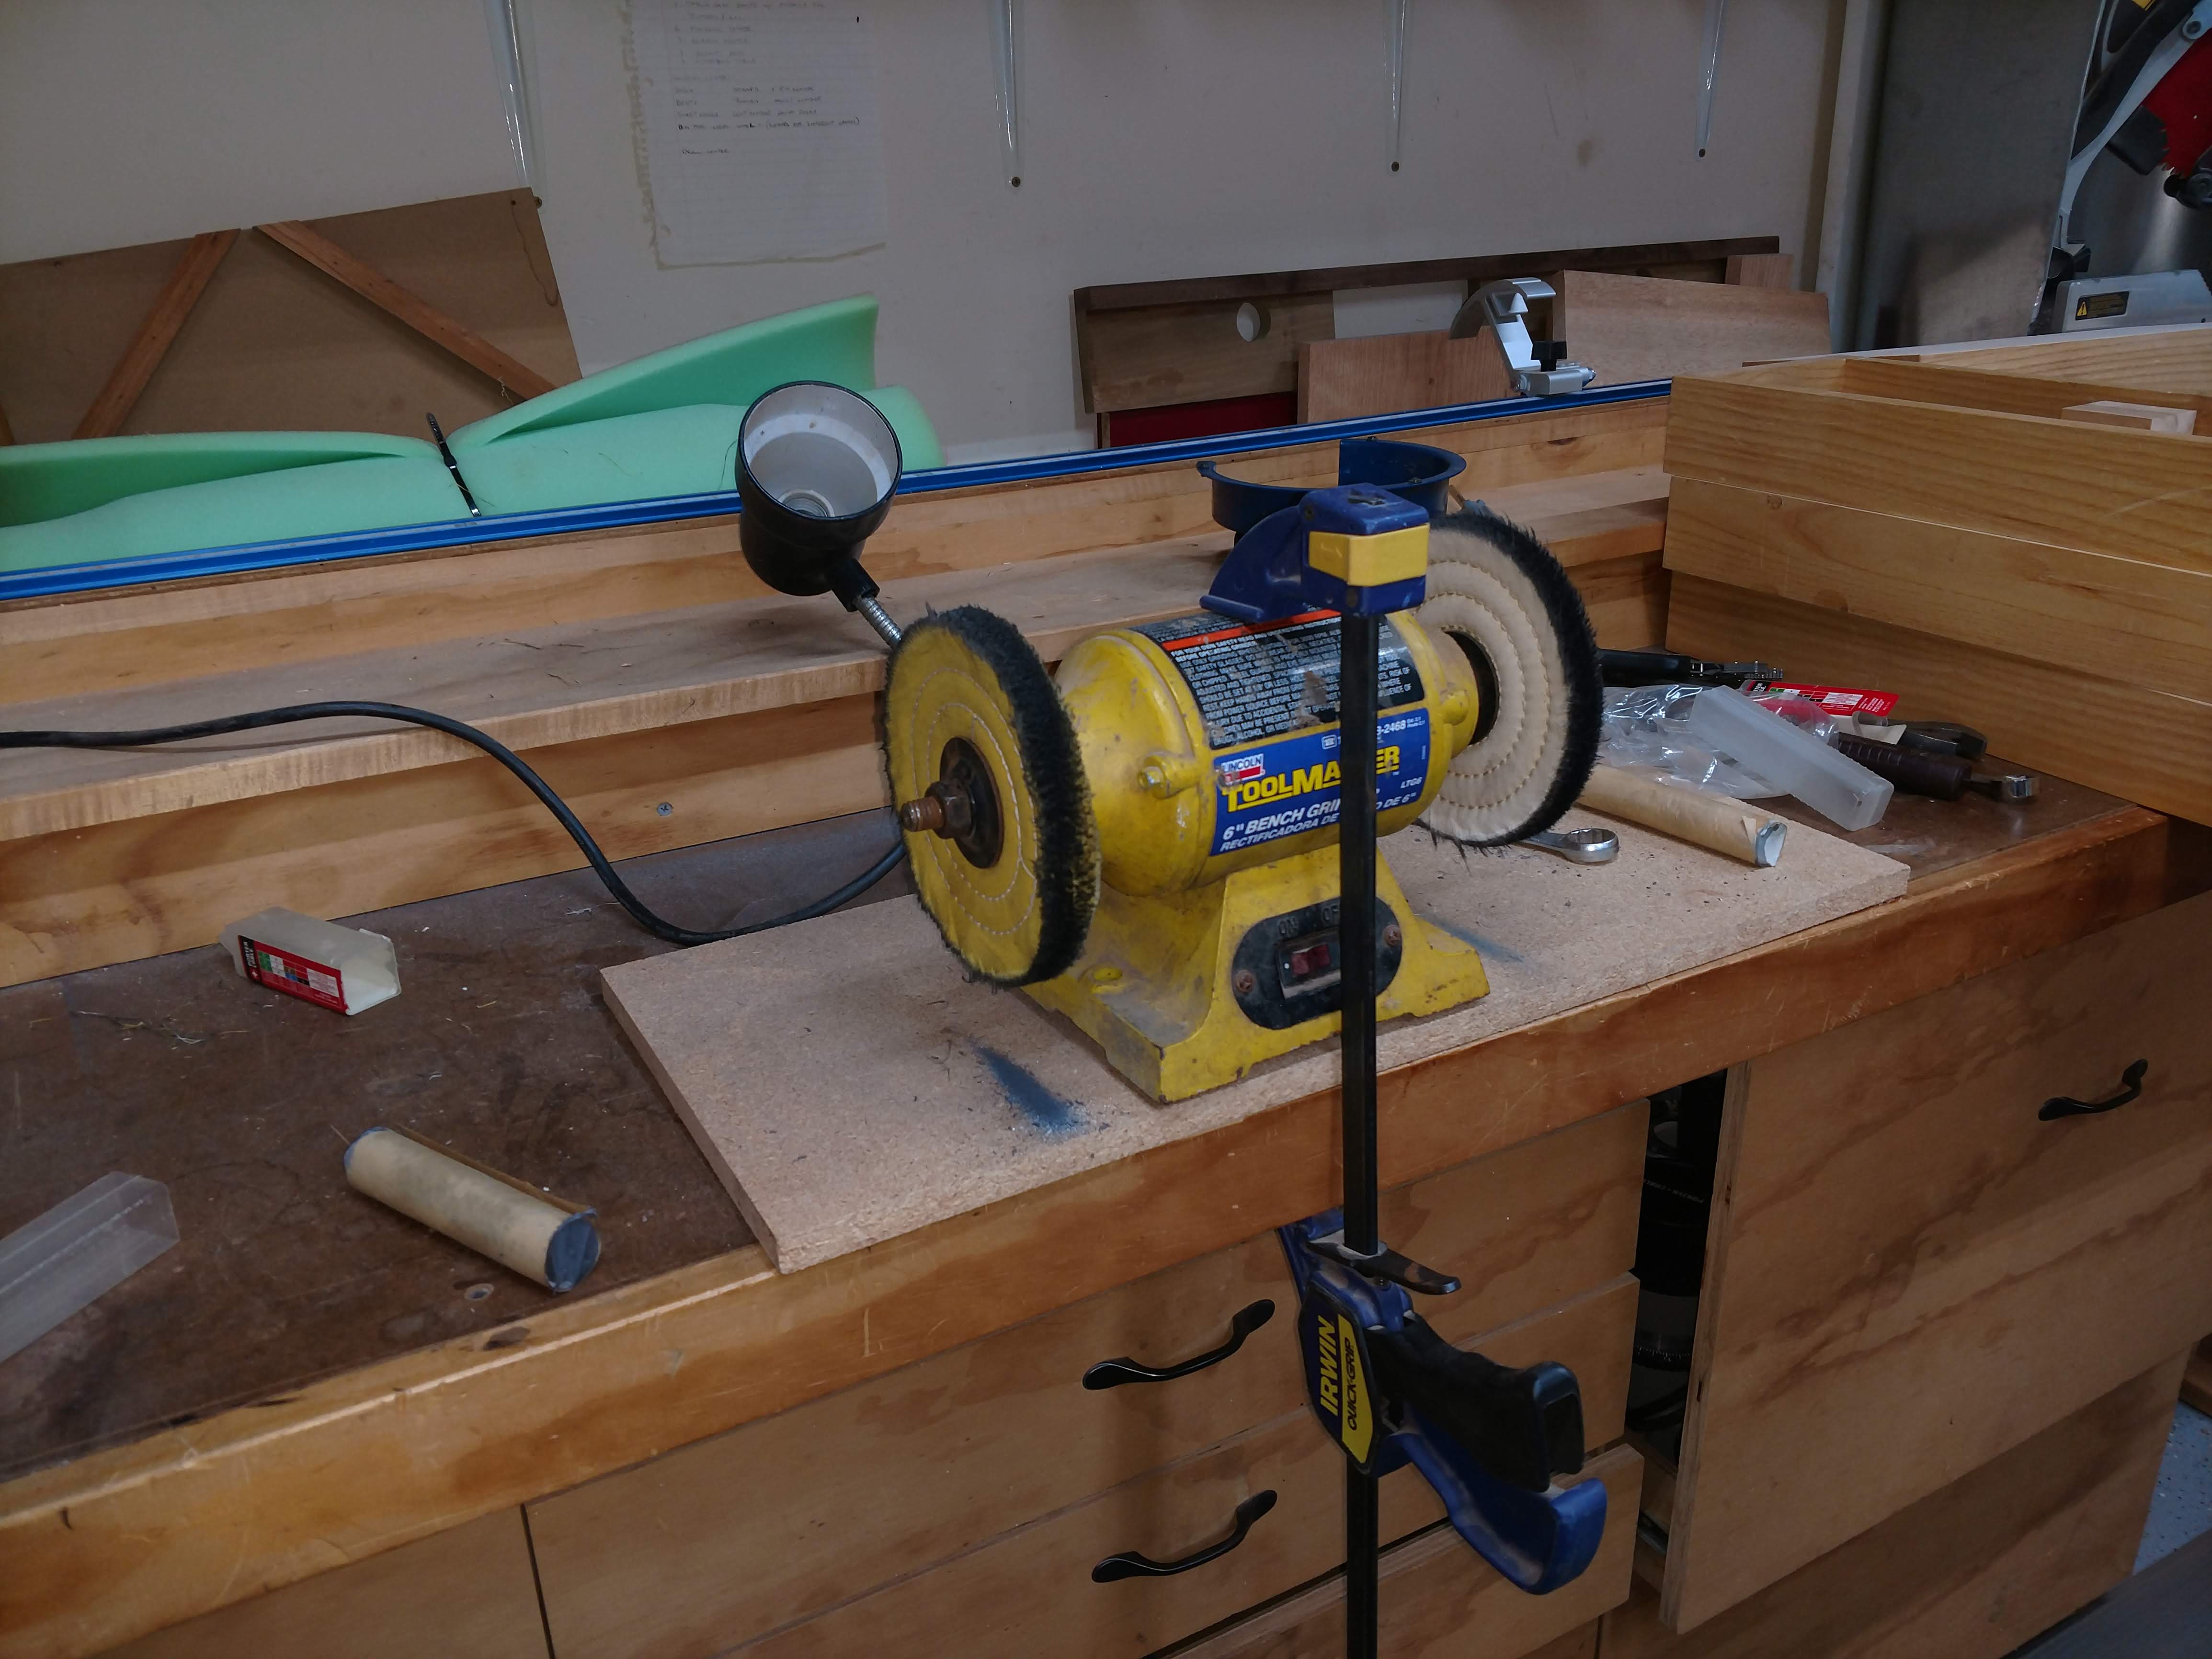
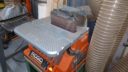
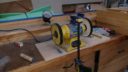
I started with a hand file, cleaning up the edges from where the mill cut the bar stock to width and working the rounded corners at the top end. Next step was over to the oscillating belt sander where I used 100 then 150 grit belts working until I had an even scratch on the bar. Next was to my random orbital sander doing the same with 220, 320 and 600 grit papers. Finally I took it to the buffing wheels mounted on my bench grinder using compound and polishing sticks.
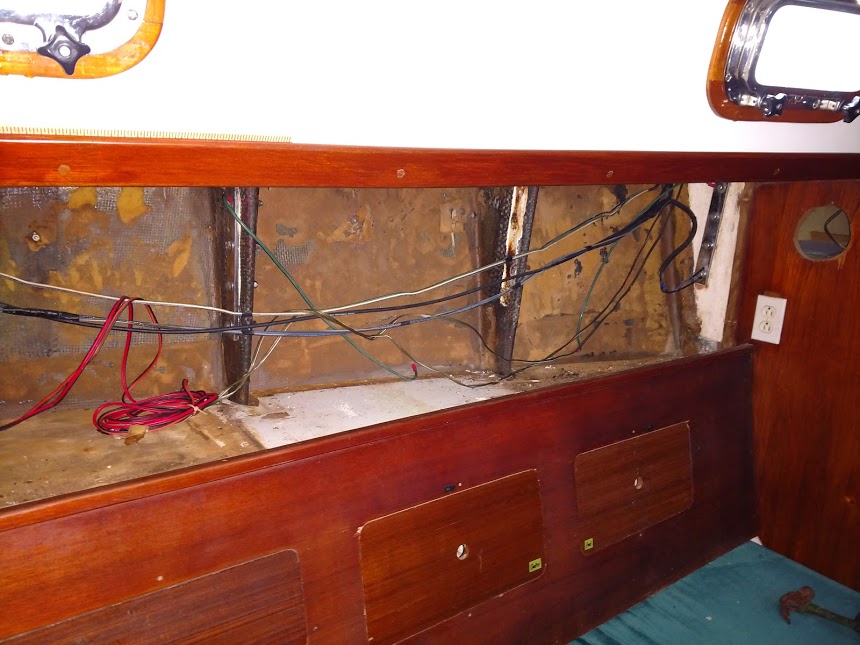
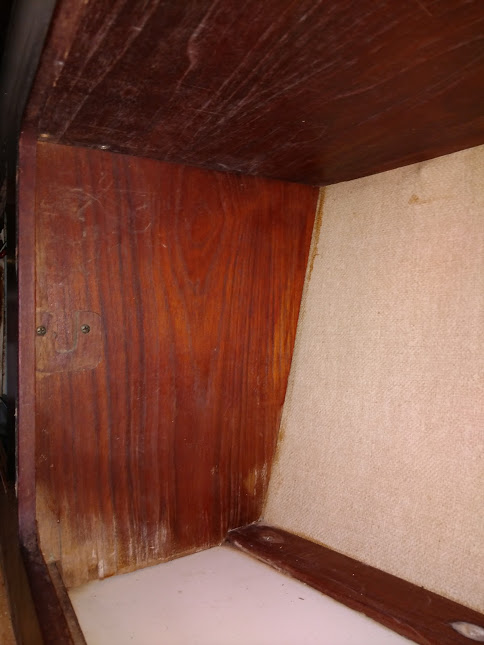
Probably more info than you all needed but someone might want it.For the cabinets,once the chainplates are done, I’ll paint the fiberglass, insulate with reflectix and build new cabinetr. I intend to make the backs and overheads of the cabinets using slat construction with exposed oval head screws. This will allow easy access behind and above the cabinets as needed.
Attachments:
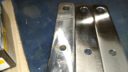
Original next to two finished plates.
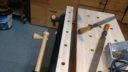
IMG_20180801_201519487.jpg
IMG_20180801_201508320.jpg
IMG_20180801_201531116.jpg
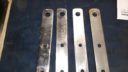
L-R Original, Polished, Sanded, Raw
ParticipantRich,
I’m pretty familiar with the RV sealant you refer to. We sold our RV to buy another money sink. I’m far happier with a boat though. I hadn’t considered that sealant. It worked quite well on my 2004 Winnebago for 13 years.
I was originally considering using butyl tape and haven’t ruled it out. I’ll do some more research before final decision.
The thru-deck penetrations were really big. Probably 1″ x 2″ at least around the plate with a pile of 4200 gunked in around it. There is some wet core that I’ll need to get out then will fill with solid epoxy. I saw an earlier post where someone (tor, I think) wrapped their chainplates in wax paper, bolted them in then filled with epoxy to fill the excessive voids.
I already have the butyl tape Keith referred to and if I go that route, will bevel the top surface at the hole with a router to allow the butyl a place to live. I’m documenting with pictures so I’ll surely post as I go along. This is the kind of stuff you need when you’ve never done this before and I want to pass on my experiences to the community.ParticipantYou can also do as I did, order a full length piece of good quality stock and cut to length and radius on the tops yourself. I did it with a hack saw (few blades) and a grinder and finished up with a mill file. Then to a machine shop to just drill the holes, Save you a lot of money
Ken
That’s the route I’m taking. I just ordered 2-6′ pieces of 3/8 x 1 1/2 Stainless barstock from metal depot. With 3 day shipping it was just under $170 for the material. I did some machine work before I was in the Navy and am a woodworker so I’m no stranger to tools. I’m going to talk to a Amish machinist I’ve used in the past to do the drilling and shaping then try to find somewhere nearby to do the electropolishing. That may be difficult down here. I think the closest to me is either Richmond Va or Baltimore.
I’ll keep everyone posted on progress.
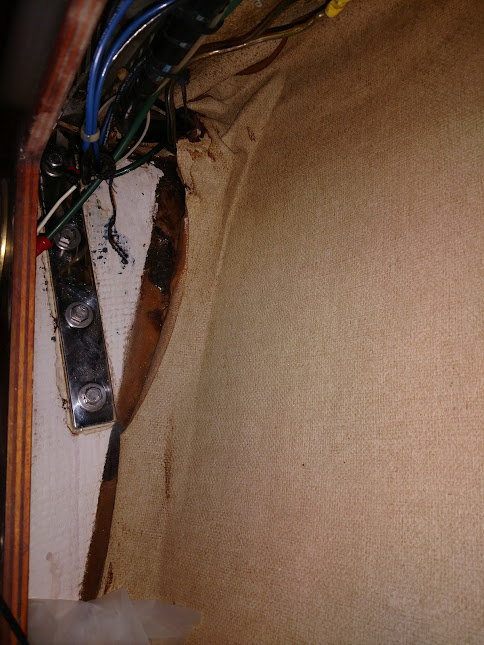
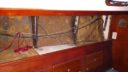
While I’m at it, I tore out all that old foam backed material that over the decades has been neglected and molded as well as all the woodwork in the area above the main saloon berths. The plywood has delaminated and many of the bronze screws have perished. I think for now, we’ll paint the fiberglass and rebuild the woodwork to like or hopefully better than new standards.Attachments:

IMG_20180720_204523929.jpg
IMG_20180721_125056088.jpg

IMG_20180721_112507679.jpg

IMG_20180721_112532409.jpg
ParticipantGambit has only just been moved from Stuart FL to West Basin Marina across from Solomons Island MD on the Patuxent. Would be interested in something later this summer. I’m afraid this weekend is just too soon for us. We’re still trucking spare parts off and making her dry and more sailable.
ParticipantIf you are near mo on the Chesapeake, you’re welcome to take measurements. If you’re willing to wait until sailing season is over, Constitution Woodcraft can make it for you.
ParticipantDavid,
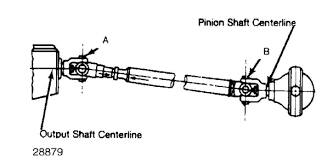
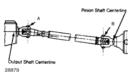
Alignment is critical. The yokes of the u-joints must be parallel to run smooth. I’ve attached a drawing of a jeep alignment set up but U-joints are U-joins no matter where they are installed. Line “A” and “B” need to be parallel throughout their rotation or you will induce noise and rapid wear eventually letting the smoke out of the U-joints.
The only way you can get away with misalignment is if you use a constant velocity (CV) joint which is what is used on front wheel drive cars. I would bet a paycheck that your noise is a result of misalignment since you mentioned you changed out the engine.
Rich Harris
GambitAttachments:
driveshaft-alignment.png
ParticipantDid you know the head was cracked when you bought the boat or was this an unplanned repower? If it was unplanned what caused the head to crack? I’m asking because currently in the market for a Pearson 424 and I’m not a fan of Westerbeke engines to start with so hearing about your experiacne is valuable.
When the engine was out did you look at the fuel tank?
The engine was running when we bought it. It had around 3000 hours on it. Not sure what caused the head to go but my mechanic tells me the engines are known for this as they age. After the first day of motoring we did notice that we were losing some coolant but couldn’t find any leaks.
My fuel tanks has been replaced and is only a couple years old. Most 424 owners seem to repower with Yanmars and Betas. I got a Yanmar at a very good price so I went with that. The betas do have the advantage of not needing an ECU module where the Yanmar does. Both have more powerful options that are more efficient and lighter in weight.ParticipantWould love to attend but I’m committed to take family to the NAS Patuxent River Airshow on the boat on the first weekend of June. Anyone would be welcome to anchor out with us if it’s good. We’ll be in Lord Baltimore’s Bay across from Solomons Island right on the edge of the exclusion zone. I plan to anchor out on Thursday evening 31 May and stay there for the weekend.
This, of course is all contingent on getting Gambit up from Florida the week before.
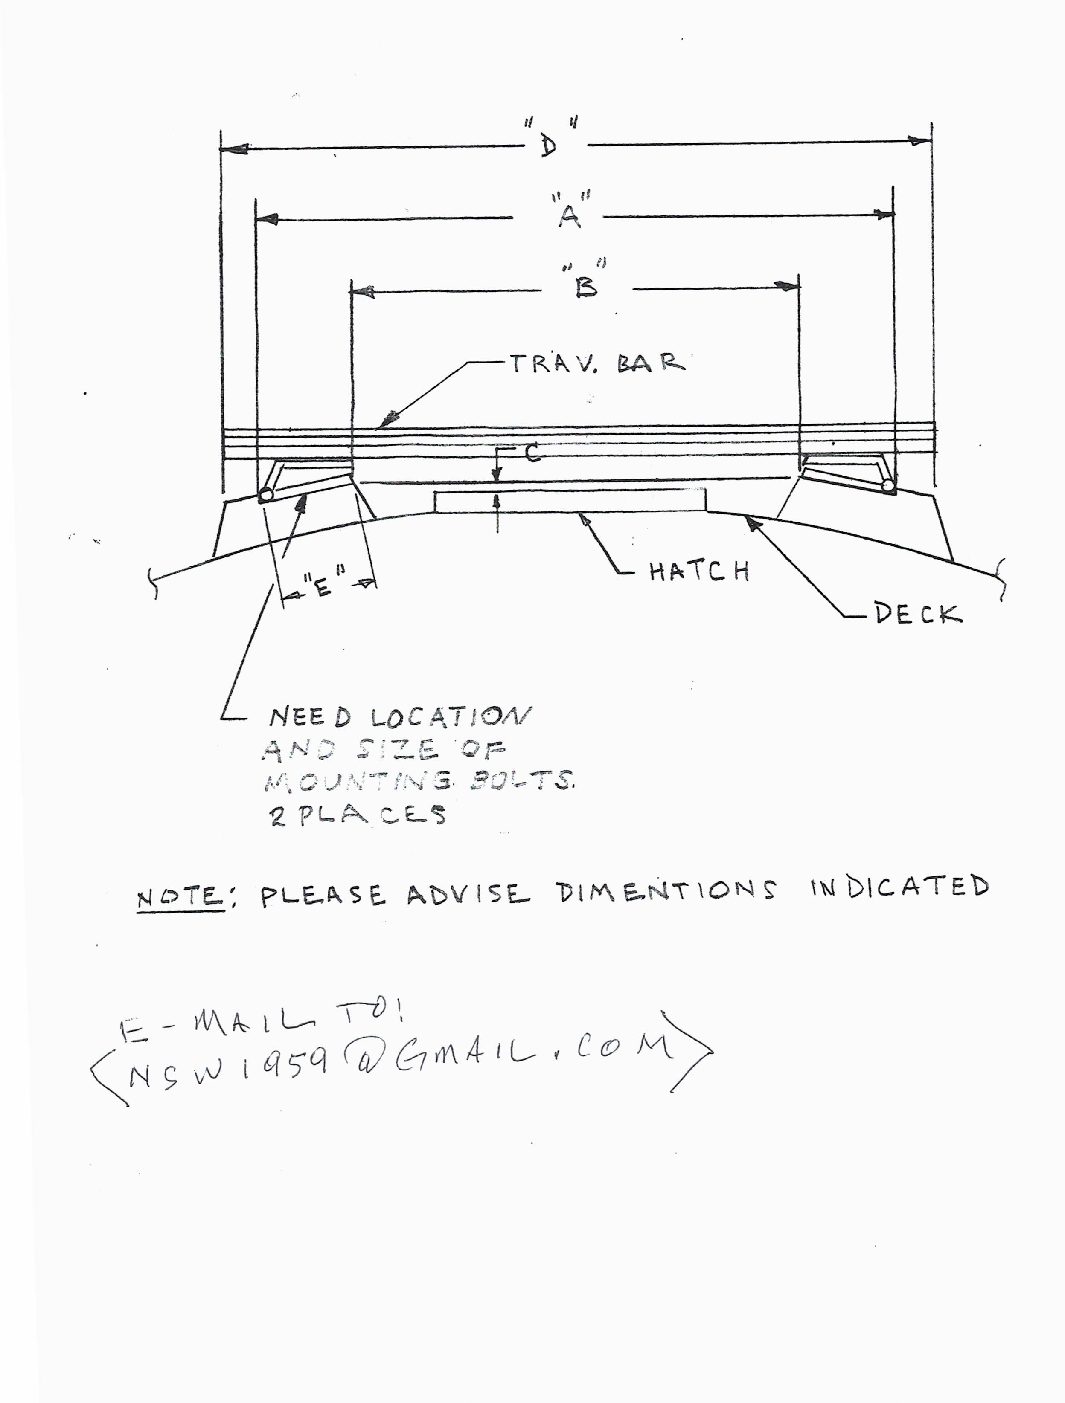
Rich and Sherry.ParticipantI called Guido yesterday and had a good chat with him. He sent me the attached PDF of the dimensions he needs to fabricate a traveler for a 424. Mine is in Florida right now and I won’t be there for a couple weeks. Thought I would pass this along to anyone contemplating a Garhauer traveler. This is for a traveler like the one in the photo section of the forum onboard Eclipse. If anyone has the time and energy to get these dimensions for me in the meantime I’d be forever grateful. Not a worry if it cannot be done, I can wait for a few more weeks.
Thanks,
Rich
Gambit IIGarhauer-traveller-dimension-sheet
Attachments:
Garhauer-traveller-dimension-sheet.pdf
ParticipantRead through these forums and you find a few stories of tanks that leak or are close to it. Most seem to change the tank out when they have the engine out for one reason or another since the tank cannot be lulled without first removing the engine. Mine has steel tanks (2) that replaced the original single tank.
Not exactly sure why the PO did that but I would imagine it was MUCH easier to put two side-by-side smaller tanks in that amount to more capacity than one single one of the same or less capacity. -
AuthorPosts