Forum Replies Created
-
AuthorPosts
-
Bryan Bywalec
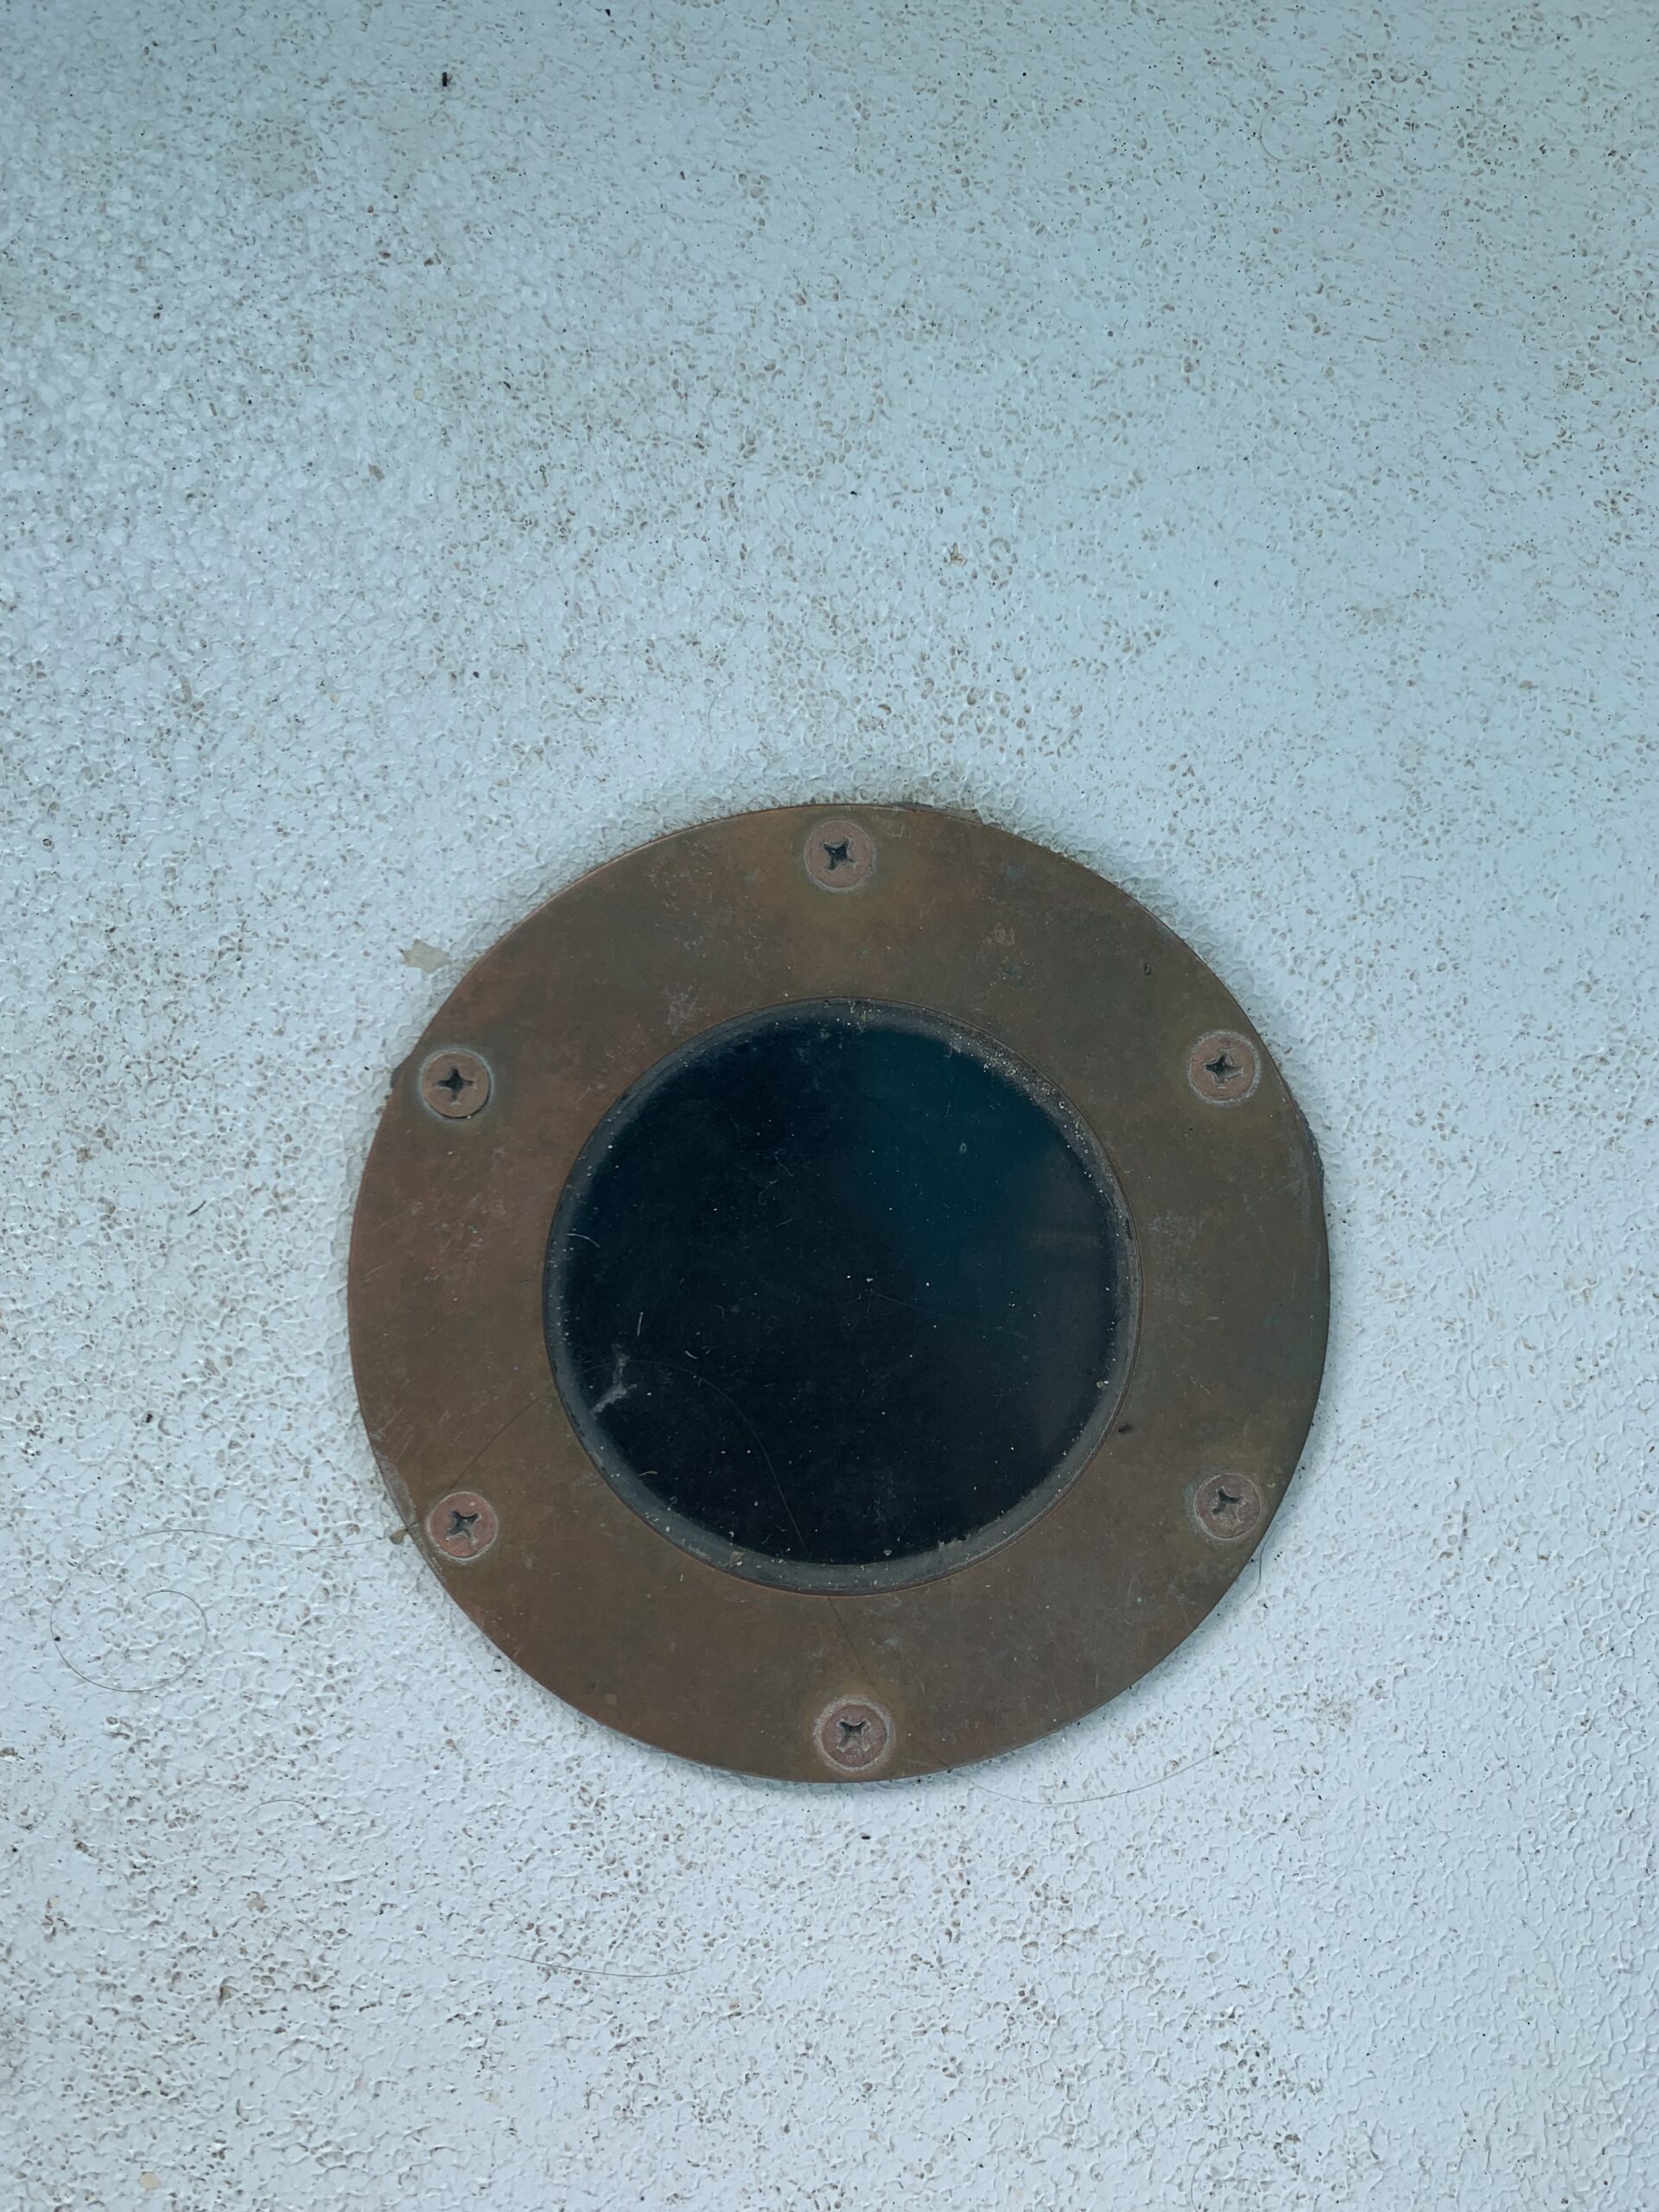
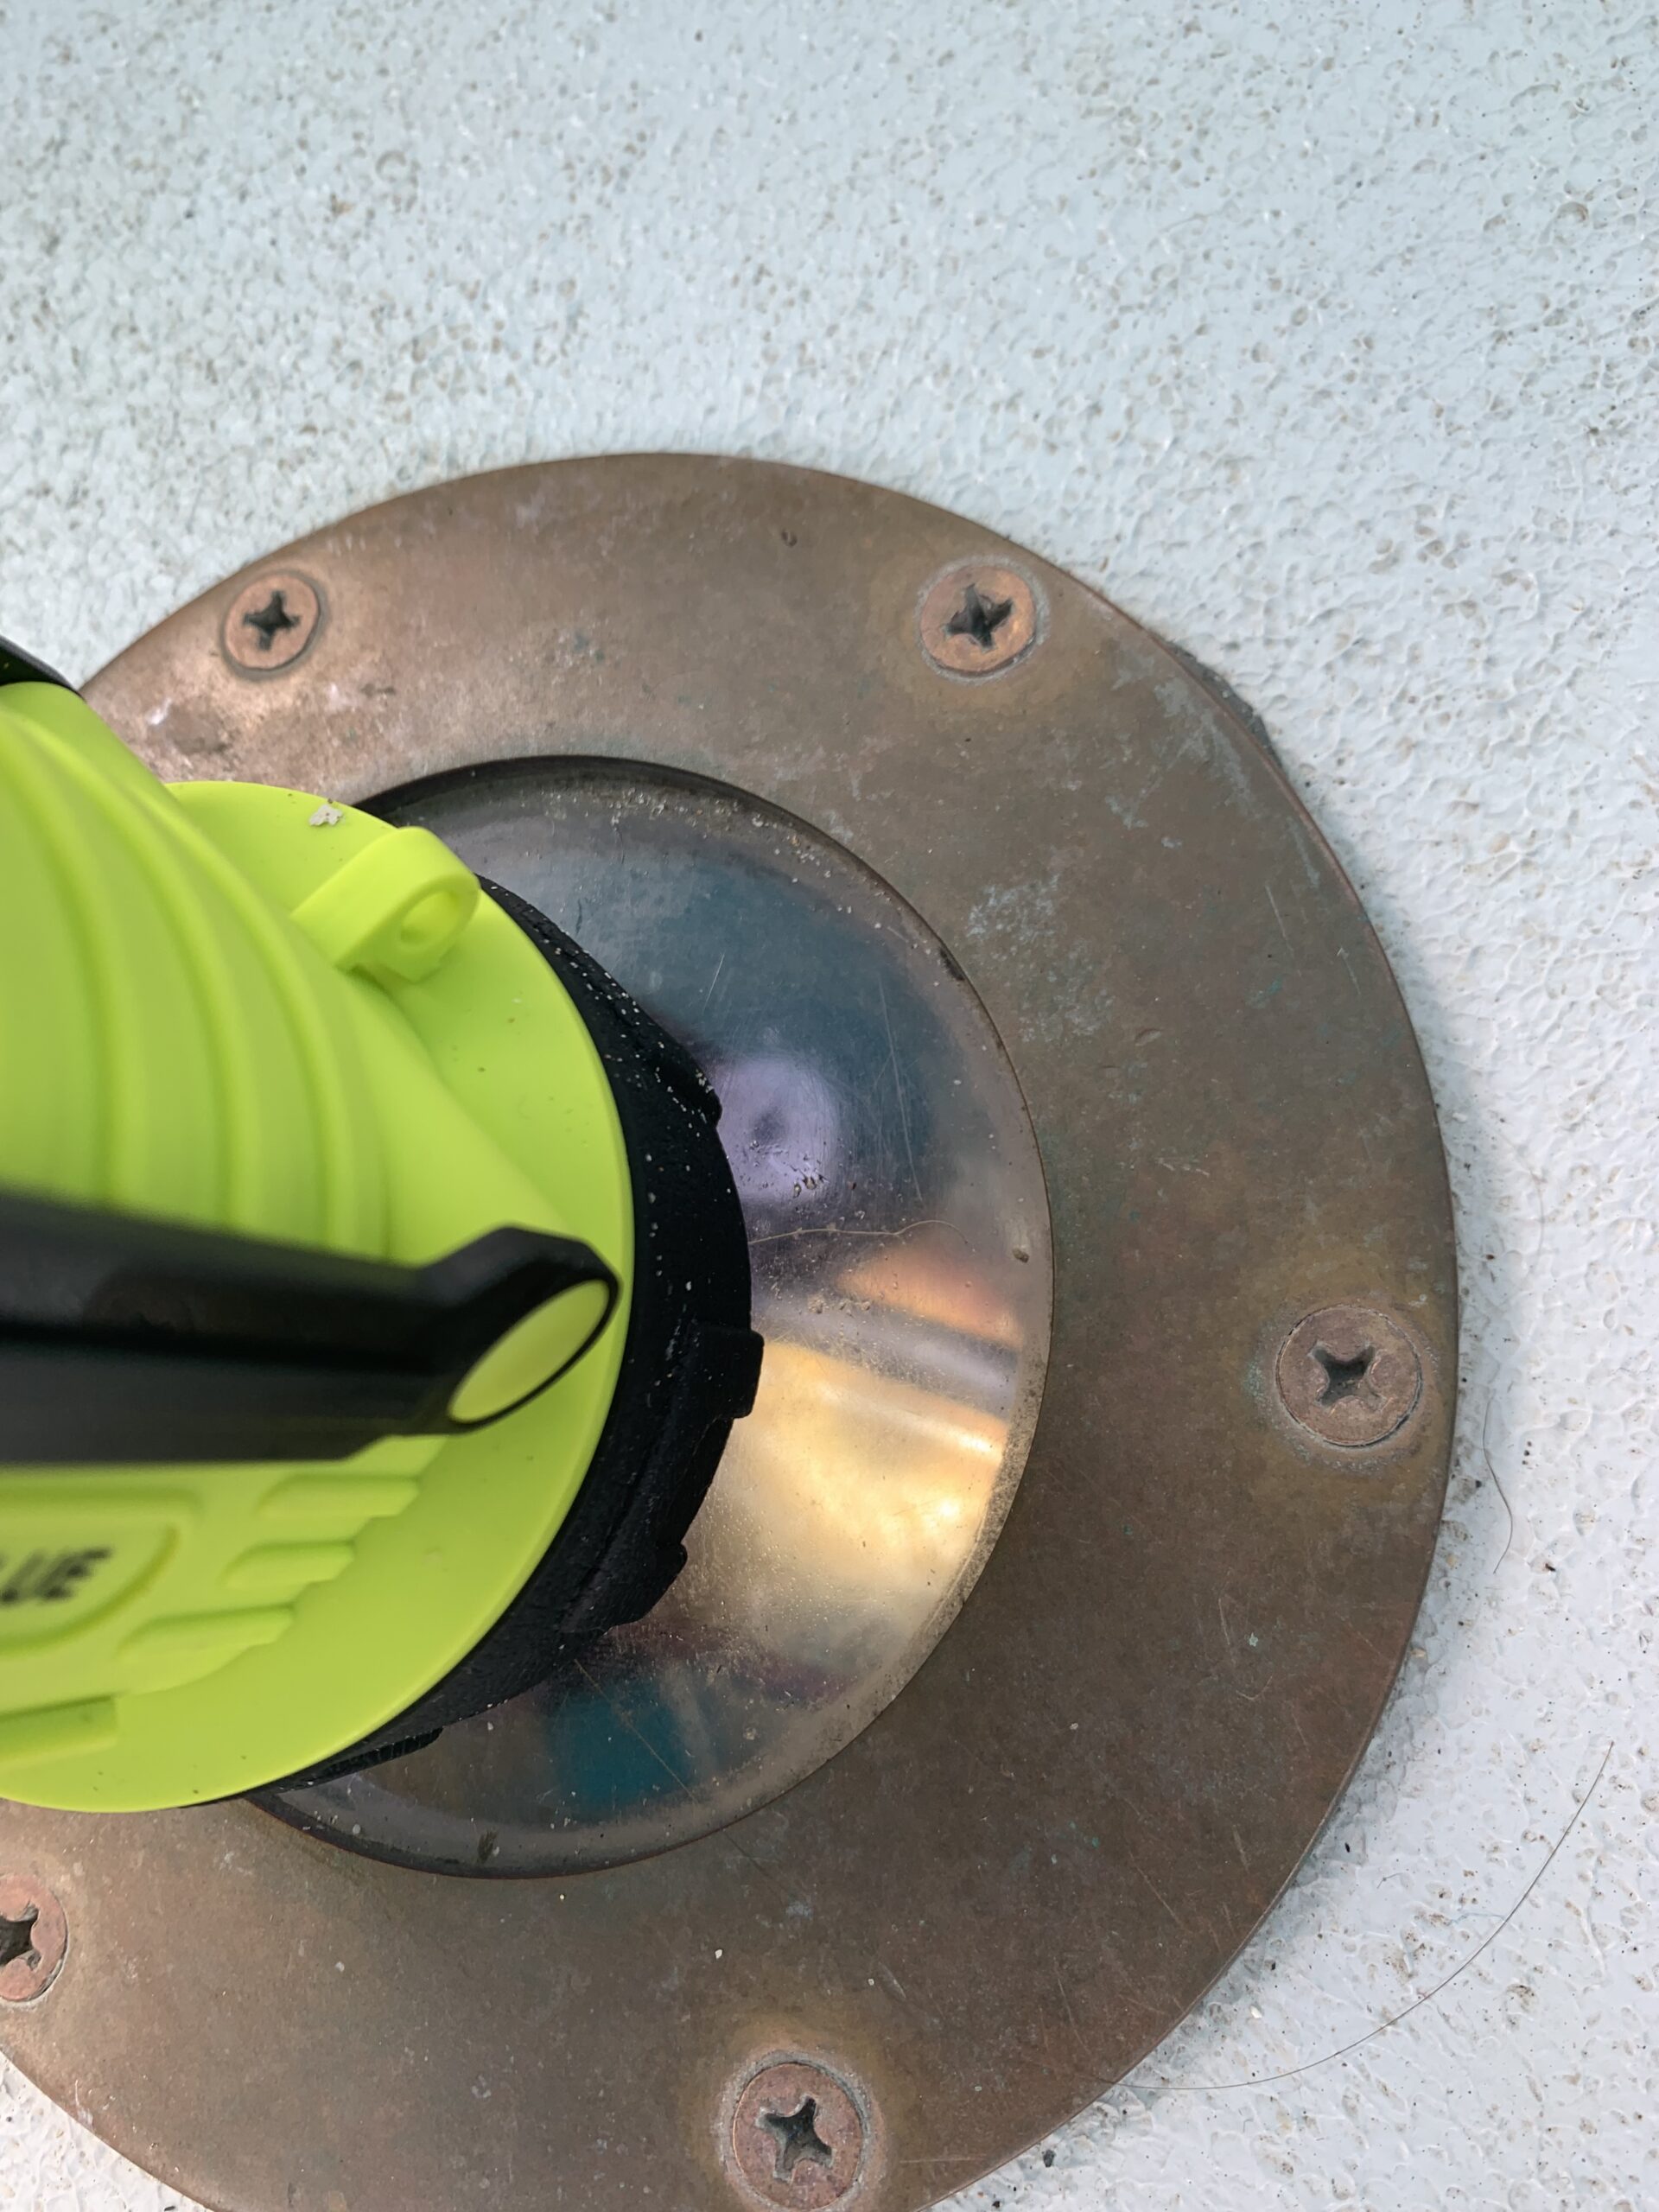
KeymasterHow big is the fuel bladder? Interesting setup.
I’ve removed my peep hole a few times and it was relatively painless. If someone got the bright idea of using something like 5200 to seal it, you may have trouble… but in general they seem to come up quite easily. If I was going to change mine that is how I would go about it.
I also have a friend who replaced his glass sight with a inspection port cover so that when he wants to read the fuel he just removes the twist-on inspection port. Another option to consider.
Bryan
-----
Bryan Bywalec
S/V Pelican, Hull 209
Siren Engineering, LLCKeymasterThanks for letting us know. I’ll try to track down the owner.
What is to become of your website!? I’d be interested in backing it up somehow or otherwise retaining the information in a manner that you are OK? I poured over your information before I bought my own 424.
Do you mind if I send you an e-mail to discuss it? I can get it from the user registry.
Bryan
-----
Bryan Bywalec
S/V Pelican, Hull 209
Siren Engineering, LLCKeymasterWhat is your use case? Day sailing? Long distance? Occasional weekend runs? The cheapest solution is to keep track of engine hours and be conservative. This is how we did it for a long time. The primary danger of this setup is when filling as you could overfill and burp fuel into the water.
The next step is a mechanical gauge but that requires the peep glass window to work.
After that you are looking at an electrical sender. There are some that work with the existing magnetic sender. This is probably the easiest as it doesn’t require removing the existing sender in the tank. Something like the Moeller 035760-10. You’ll also need a fuel gauge to monitor the sender.
You could also replace the existing unit (who knows what condition it is in…) with a varity of senders. The Moeller reed units are popular:
9″ tank depth – Moeller part # moe-035761-10
11″ tank depth – Moeller part # moe-035762-10
13″ tank depth – Moeller part # moe-035764-10
15″ tank depth – Moeller part # moe-035765-10
18-1/2″ tank depth – Moeller part # moe-035767-10I should know the tank depth off the top of my head but best the check yours own. Sender length is 1″ shorter than tank depth.
You’ll still need a gauge (33-240 Ohm’s).
-----
Bryan Bywalec
S/V Pelican, Hull 209
Siren Engineering, LLC1 user thanked author for this post.
KeymasterSounds like the fuel gauge window as Rich mentioned. I’m attempting to upload some photos to see if the site is going to allow it. If you see some photos below, then there is something wrong with your particular image file.
-----
Bryan Bywalec
S/V Pelican, Hull 209
Siren Engineering, LLCAttachments:

IMG_9166-scaled.jpg

IMG_9169-scaled.jpg
KeymasterDid you make any progress on this? It is hard to believe that valve springs are that unique. These guys have been very helpful to me in the past: https://www.dieselpartsdirect.com/
Bryan
-----
Bryan Bywalec
S/V Pelican, Hull 209
Siren Engineering, LLCKeymasterIf the entire shoe needs to be replaced then it will likely have to be a custom fab job. If there is something wrong with the shoe – such as a rounded out hole – a competent machinist should be able to repair it. Trying to find a bronze fitting for a 40 year old boat off the shelf is probably not going to happen unless someone happens to be parting out a 424 at the moment.
Port Townsend Foundry would be my first call about fabricating an entirely new shoe but they will likely need dimensions. I haven’t see any drawings of the rudder components.
RigRite.com is also a source of custom parts and may have knowledge about the shoe or where to get one easier.
I’ll reach out to them via Facebook about whatever problem they are having with the website. Our e-mail system is being swamped by all sorts of spam and alerts at the moment.
-----
Bryan Bywalec
S/V Pelican, Hull 209
Siren Engineering, LLCKeymasterI am very interested in Beta’s new Hybrid offering. Sort of like going electric with a generator but all in one package. Only drawback is the lack of flexibility in mounting the engine remotely
-----
Bryan Bywalec
S/V Pelican, Hull 209
Siren Engineering, LLCKeymasterI have a good condition North 135 ($400), a new 1 1/2oz symmetrical spinnaker ($800), a poor condition laminate drifter and a poor condition Dacron staysail (throw in with other sails!) for sale – all from a 424 cutter. Measurements, pictures, etc on request.
Bob Kriegel, bkriegel@panhandle.rr.com; or 850 455-7695Please don’t respond here but contact the above information directly!
-----
Bryan Bywalec
S/V Pelican, Hull 209
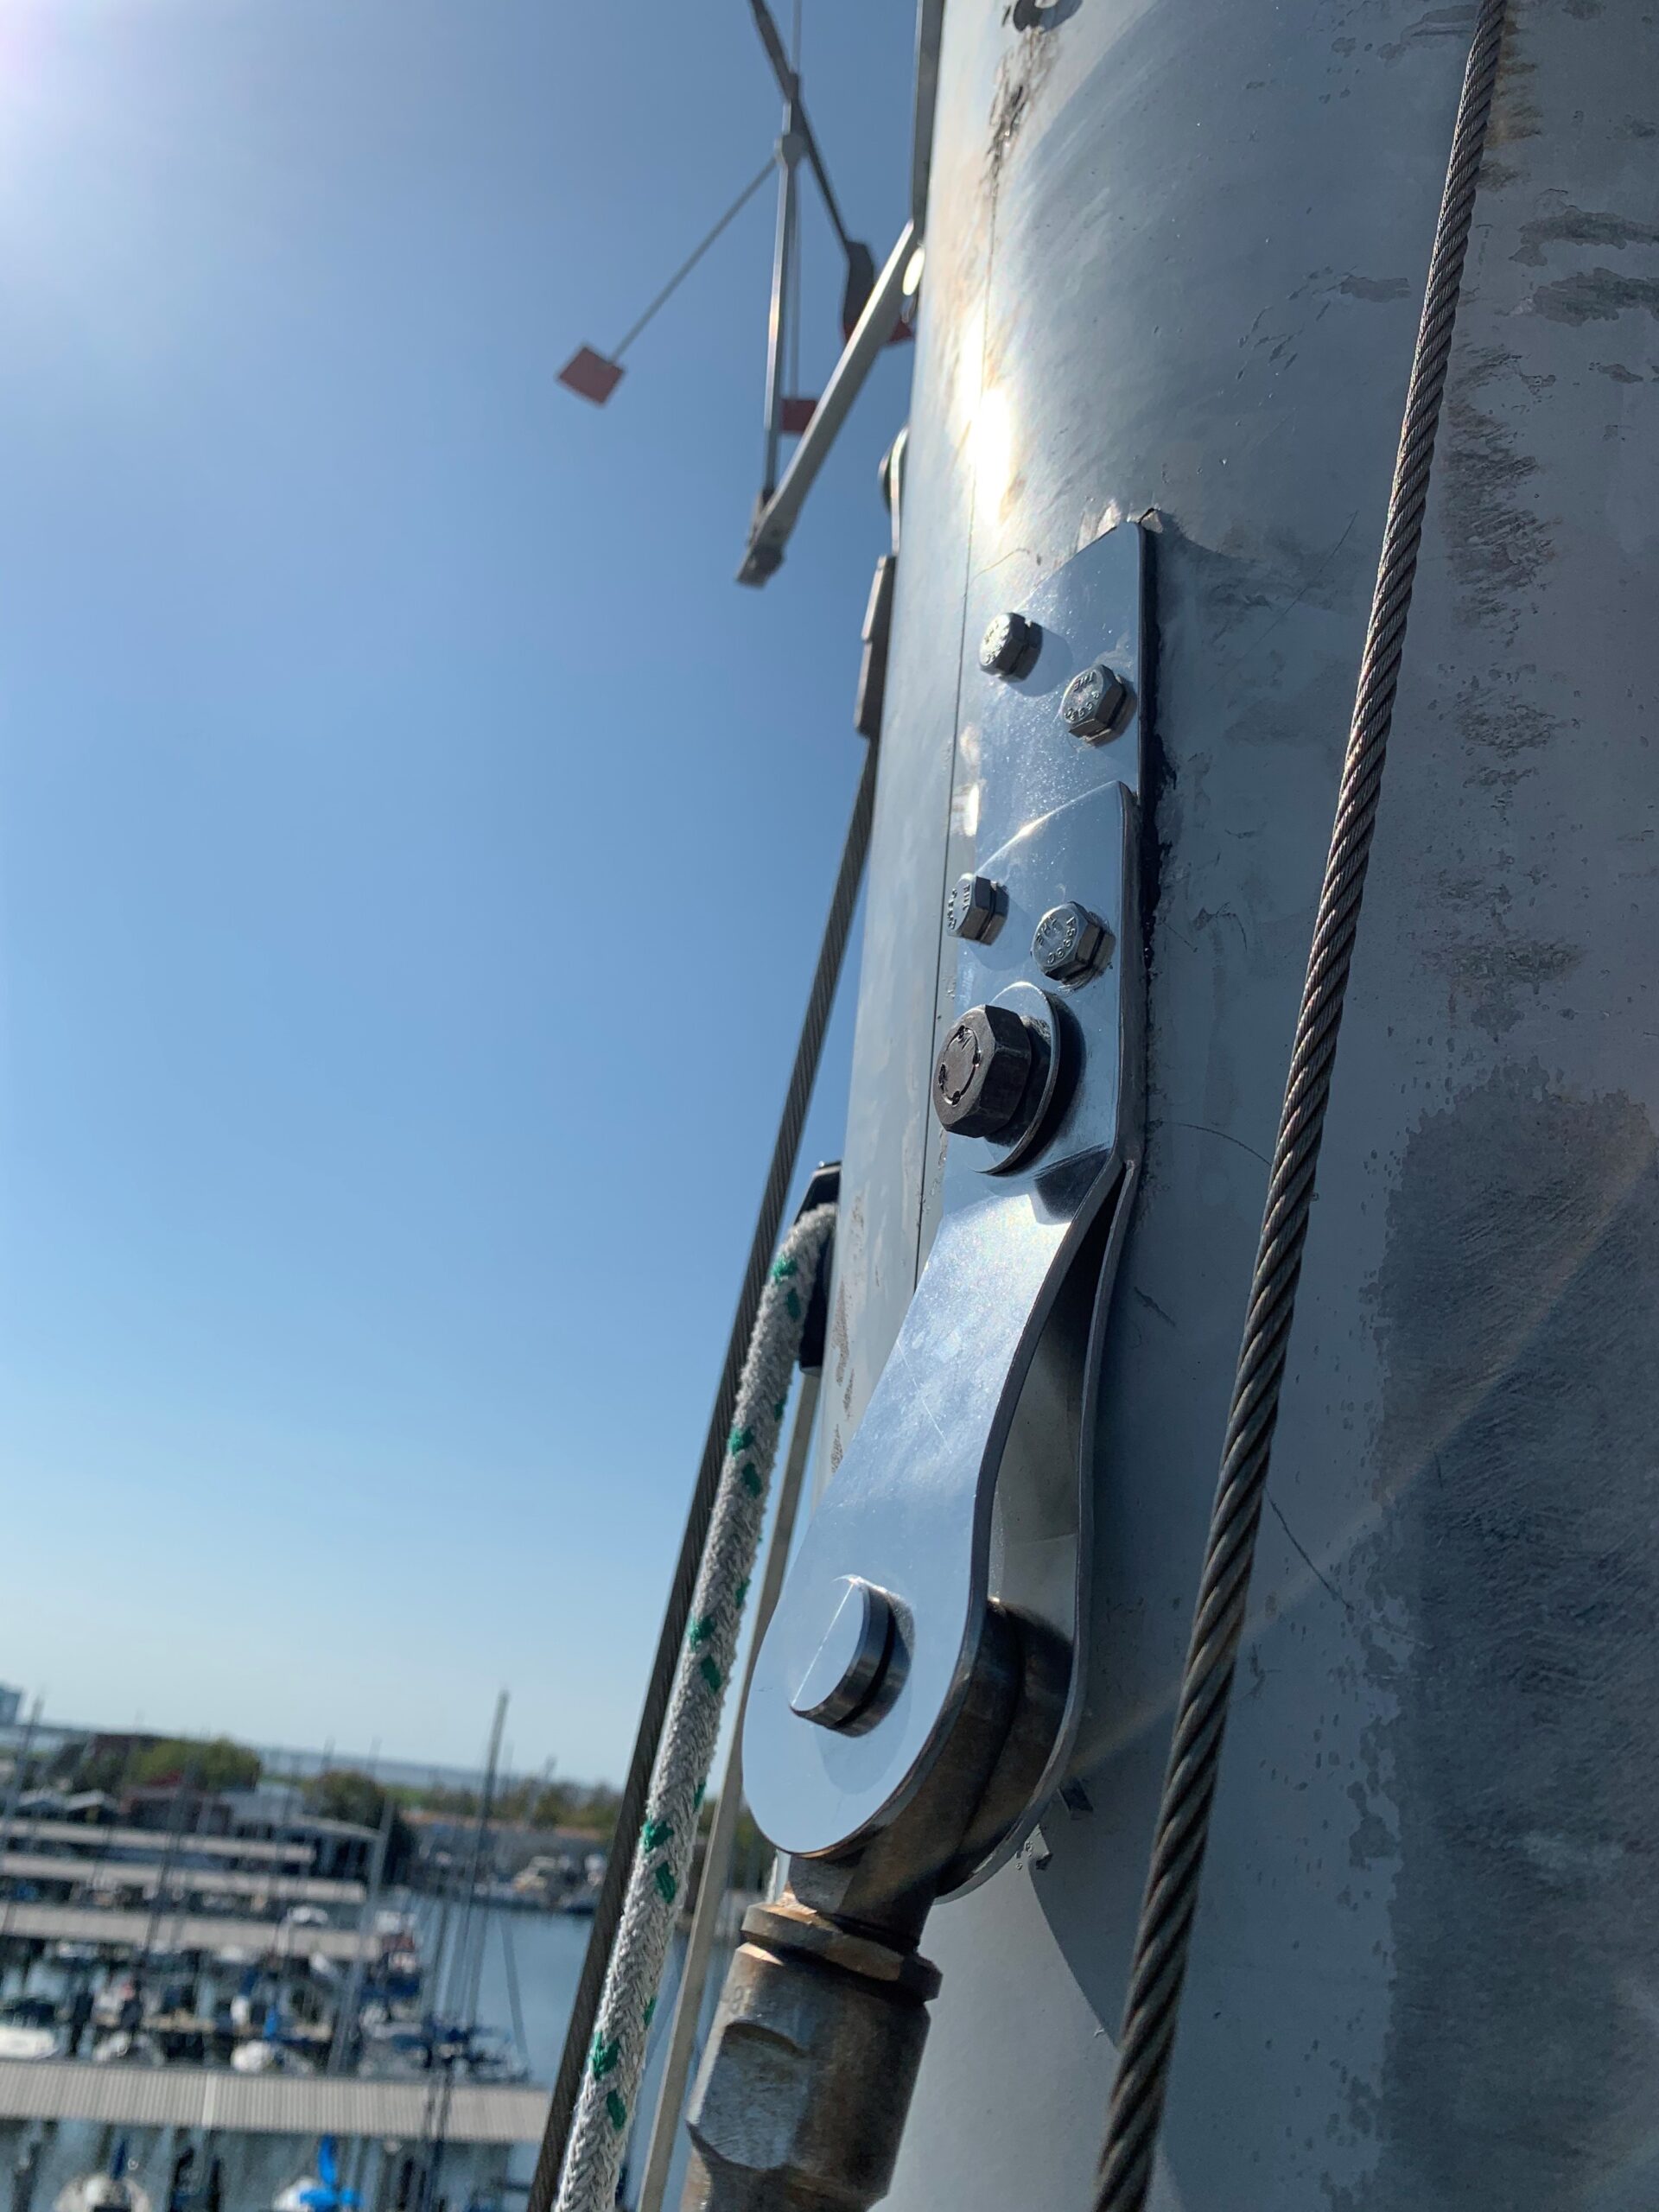
Siren Engineering, LLCKeymasterThe nut turned out to be pretty easy. The punch marks between the nut and the bolt provided some resistance but it turned with a wrench and came off. The four screws above that bolt were another story. After trying everything… soaking in penetrating oil, blow torch, impact screw driver… then I got serious and brought my grinder up there. I ground off the heads of the screws and then pulled the tang off. I was then able to grab what was remaining of the screws with vise-grips and get them out. Stainless into aluminum is a nightmare.
However, it turns out the replacement tangs, which looked very close to identical, were not exactly identical and the bolt holes didn’t line up perfectly. I swapped port and starboard (the bolt holes are mirrored) and drilled and tapped new holes. I replaced the slotted screws with hex head bolts so that the next owner can get some torque on them when they need changing in another 40 years. I used loctite blue on the four upper bolts and loctite red on the nut.
Overall it would have been a relatively easy project if I had just went straight to the grinder when the screws were seized in the aluminum. The other side isn’t cracked but I’m going to replace it anyway sometime soon.
-----
Bryan Bywalec
S/V Pelican, Hull 209
Siren Engineering, LLCAttachments:

Tang-scaled.jpg
KeymasterI would be interested in seeing Miss Kathleen’s hard dodger photos but the link to Google Plus is no longer active. Does anyone have them?
Took a little bit but I did eventually get the photos. I’ve added them to the new Dodger article on the wiki.
https://wiki.pearson424.org/index.php/Dodger
-----
Bryan Bywalec
S/V Pelican, Hull 209
Siren Engineering, LLCKeymasterIn an effort to get all my bulbs the same I bought a bunch of two prong fixtures with leads and solder them to the bayonet fittings and then glue the fixture to the top of the bayonet.
You can get very bright two prong led lights.
-----
Bryan Bywalec
S/V Pelican, Hull 209
Siren Engineering, LLCKeymasterRigRite is a great source for both off-the-shelf and custom replacement. They don’t have any listed specifically for the 424s but they can offer suggestions.
Perhaps others have sources local to NC.
-----
Bryan Bywalec
S/V Pelican, Hull 209
Siren Engineering, LLCKeymasterI believe the original design had it plumbing the flow thru condenser into the intake side of the engine’s raw water cooling circuit.
“The flow thru condenser is connected to the inlet side of the engine’s seawater system circuit. It should be mounted as close to vertical as practical. The sea water enters the bottom of the condenser and exits through the top. Use of water fittings of the same size or larger as the existing water supply to the engine are recommended. Reinforced marine grade hose should be used for the seawater circuit, and all fit-tings are to be double-clamped. Caution:Condenser must be connect-ed to the vessels bonding circuit.”
Caribbean Engine Drive Belt Models
-----
Bryan Bywalec
S/V Pelican, Hull 209
Siren Engineering, LLCKeymasterThe best place to look for a core on a Plan C is under the sink in the forward head. The portion of the hull under the water is cored and somewhere up the side it transitions to solid glass. You don’t want a core at the deck to hull connection. Replacing a thru-hull or other existing hole in the hull won’t tell you if it is cored as the core should be removed around all penetrations. I’ll post a picture of the tell tale transition tomorrow.
I think this is a good subject to introduce what I think is the next generation of this website. I’ve started a wiki for Pearson424s at wiki.pearson424.org. I’ll be able to record our conversations into a repository of information that is more searchable.
https://wiki.pearson424.org/index.php/Hull_Layup
I’ll be searching through the posts and adding information I find about the hull layup tonight and tomorrow. If you have drilled a hole in previously undisturbed parts of your hull and measured the thickness of the layup… send pictures and location?
-----
Bryan Bywalec
S/V Pelican, Hull 209
Siren Engineering, LLCKeymasterIt depends on the year. Our 1983 Plan C Cutter has a cored hull. Older hulls are solid. We only found a small area of delamination and had it repaired. There was no water intrusion or rot, it was probably a void in the lay up from the factory that we found after an extensive survey. Other than that we haven’t had any issues with it.
As for how to tell? Cored hulls typically have a transition somewhere along the side where the cored portion begins, if it is the same thickness all the way up it is more likely to be solid. You can also inspect around thru-hulls to see if they cut away the core and made it solid fiberglass. This would point to having a core.
As for opinion on a cored hull? If we could trade our hull for a solid core we might… but as long as the boat has been taken care of (i.e. regular haul outs, well installed thru-hulls) and a good hull survey doesn’t show any problems I wouldn’t make it a deal breaker. They are actually stronger per pound or lighter per unit strength depending on what the designers went for…
Regards,
Bryan Bywalec
S/V Pelican-----
Bryan Bywalec
S/V Pelican, Hull 209
Siren Engineering, LLC -
AuthorPosts